

Box Trim Installation
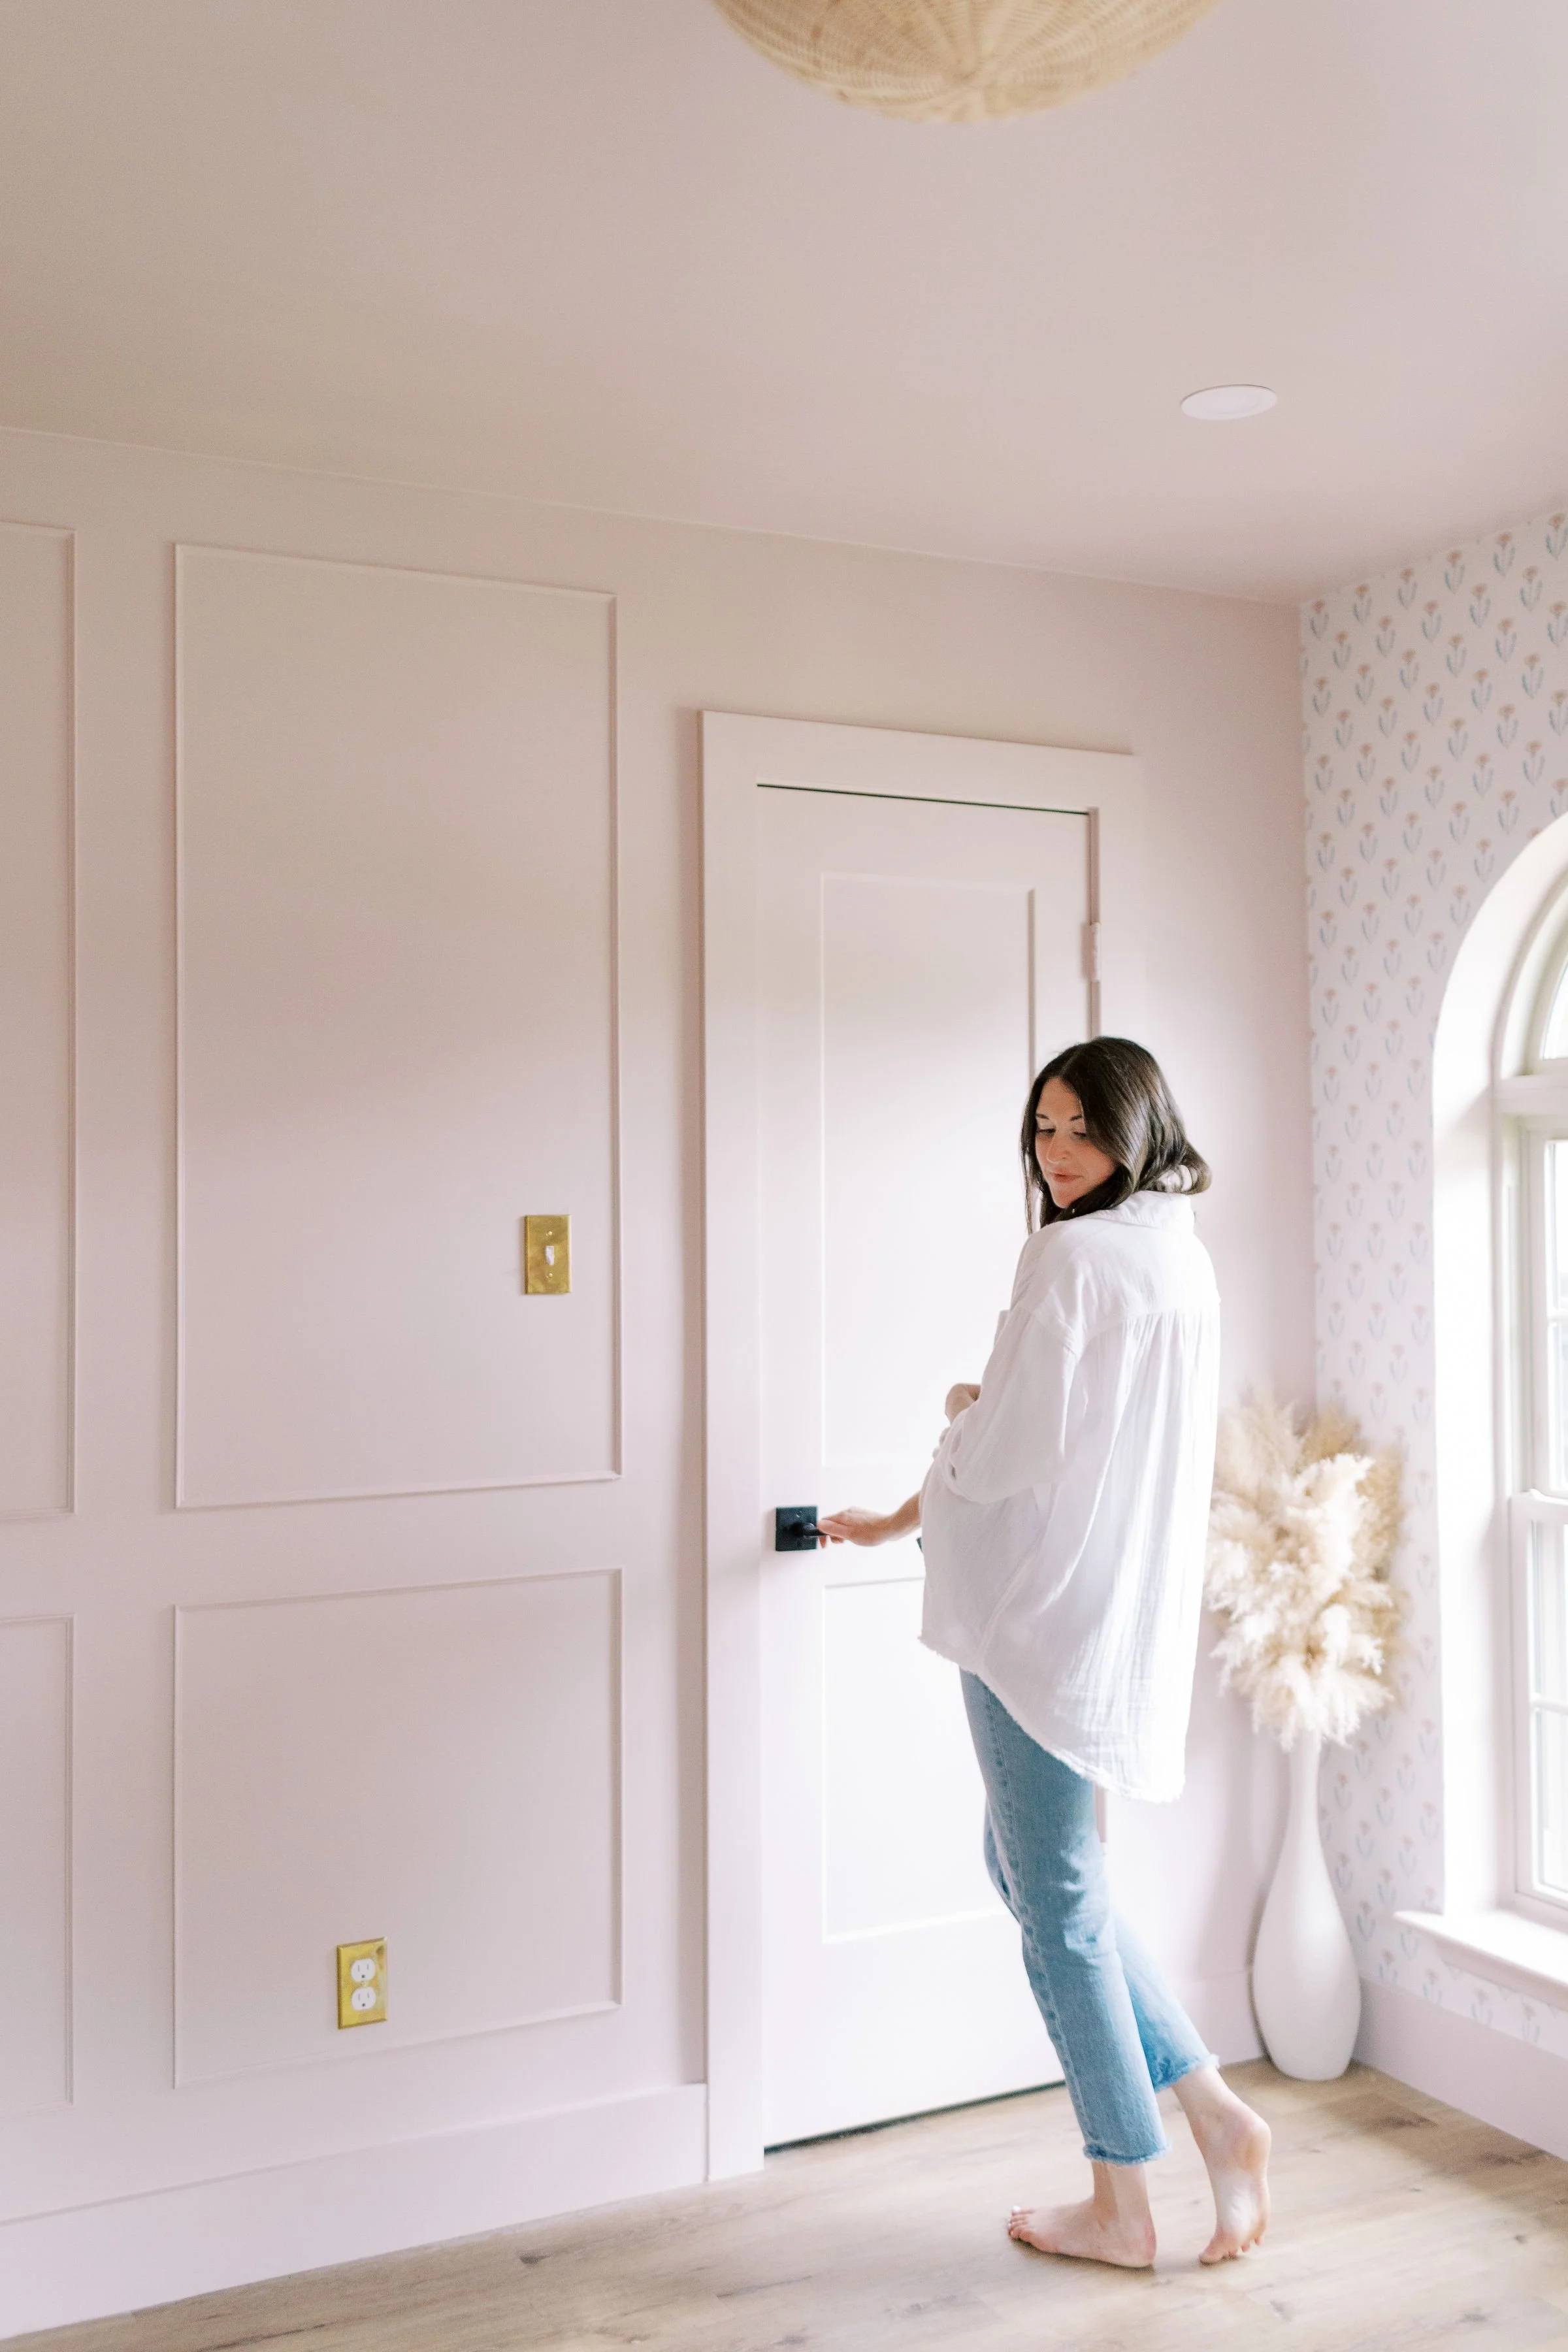
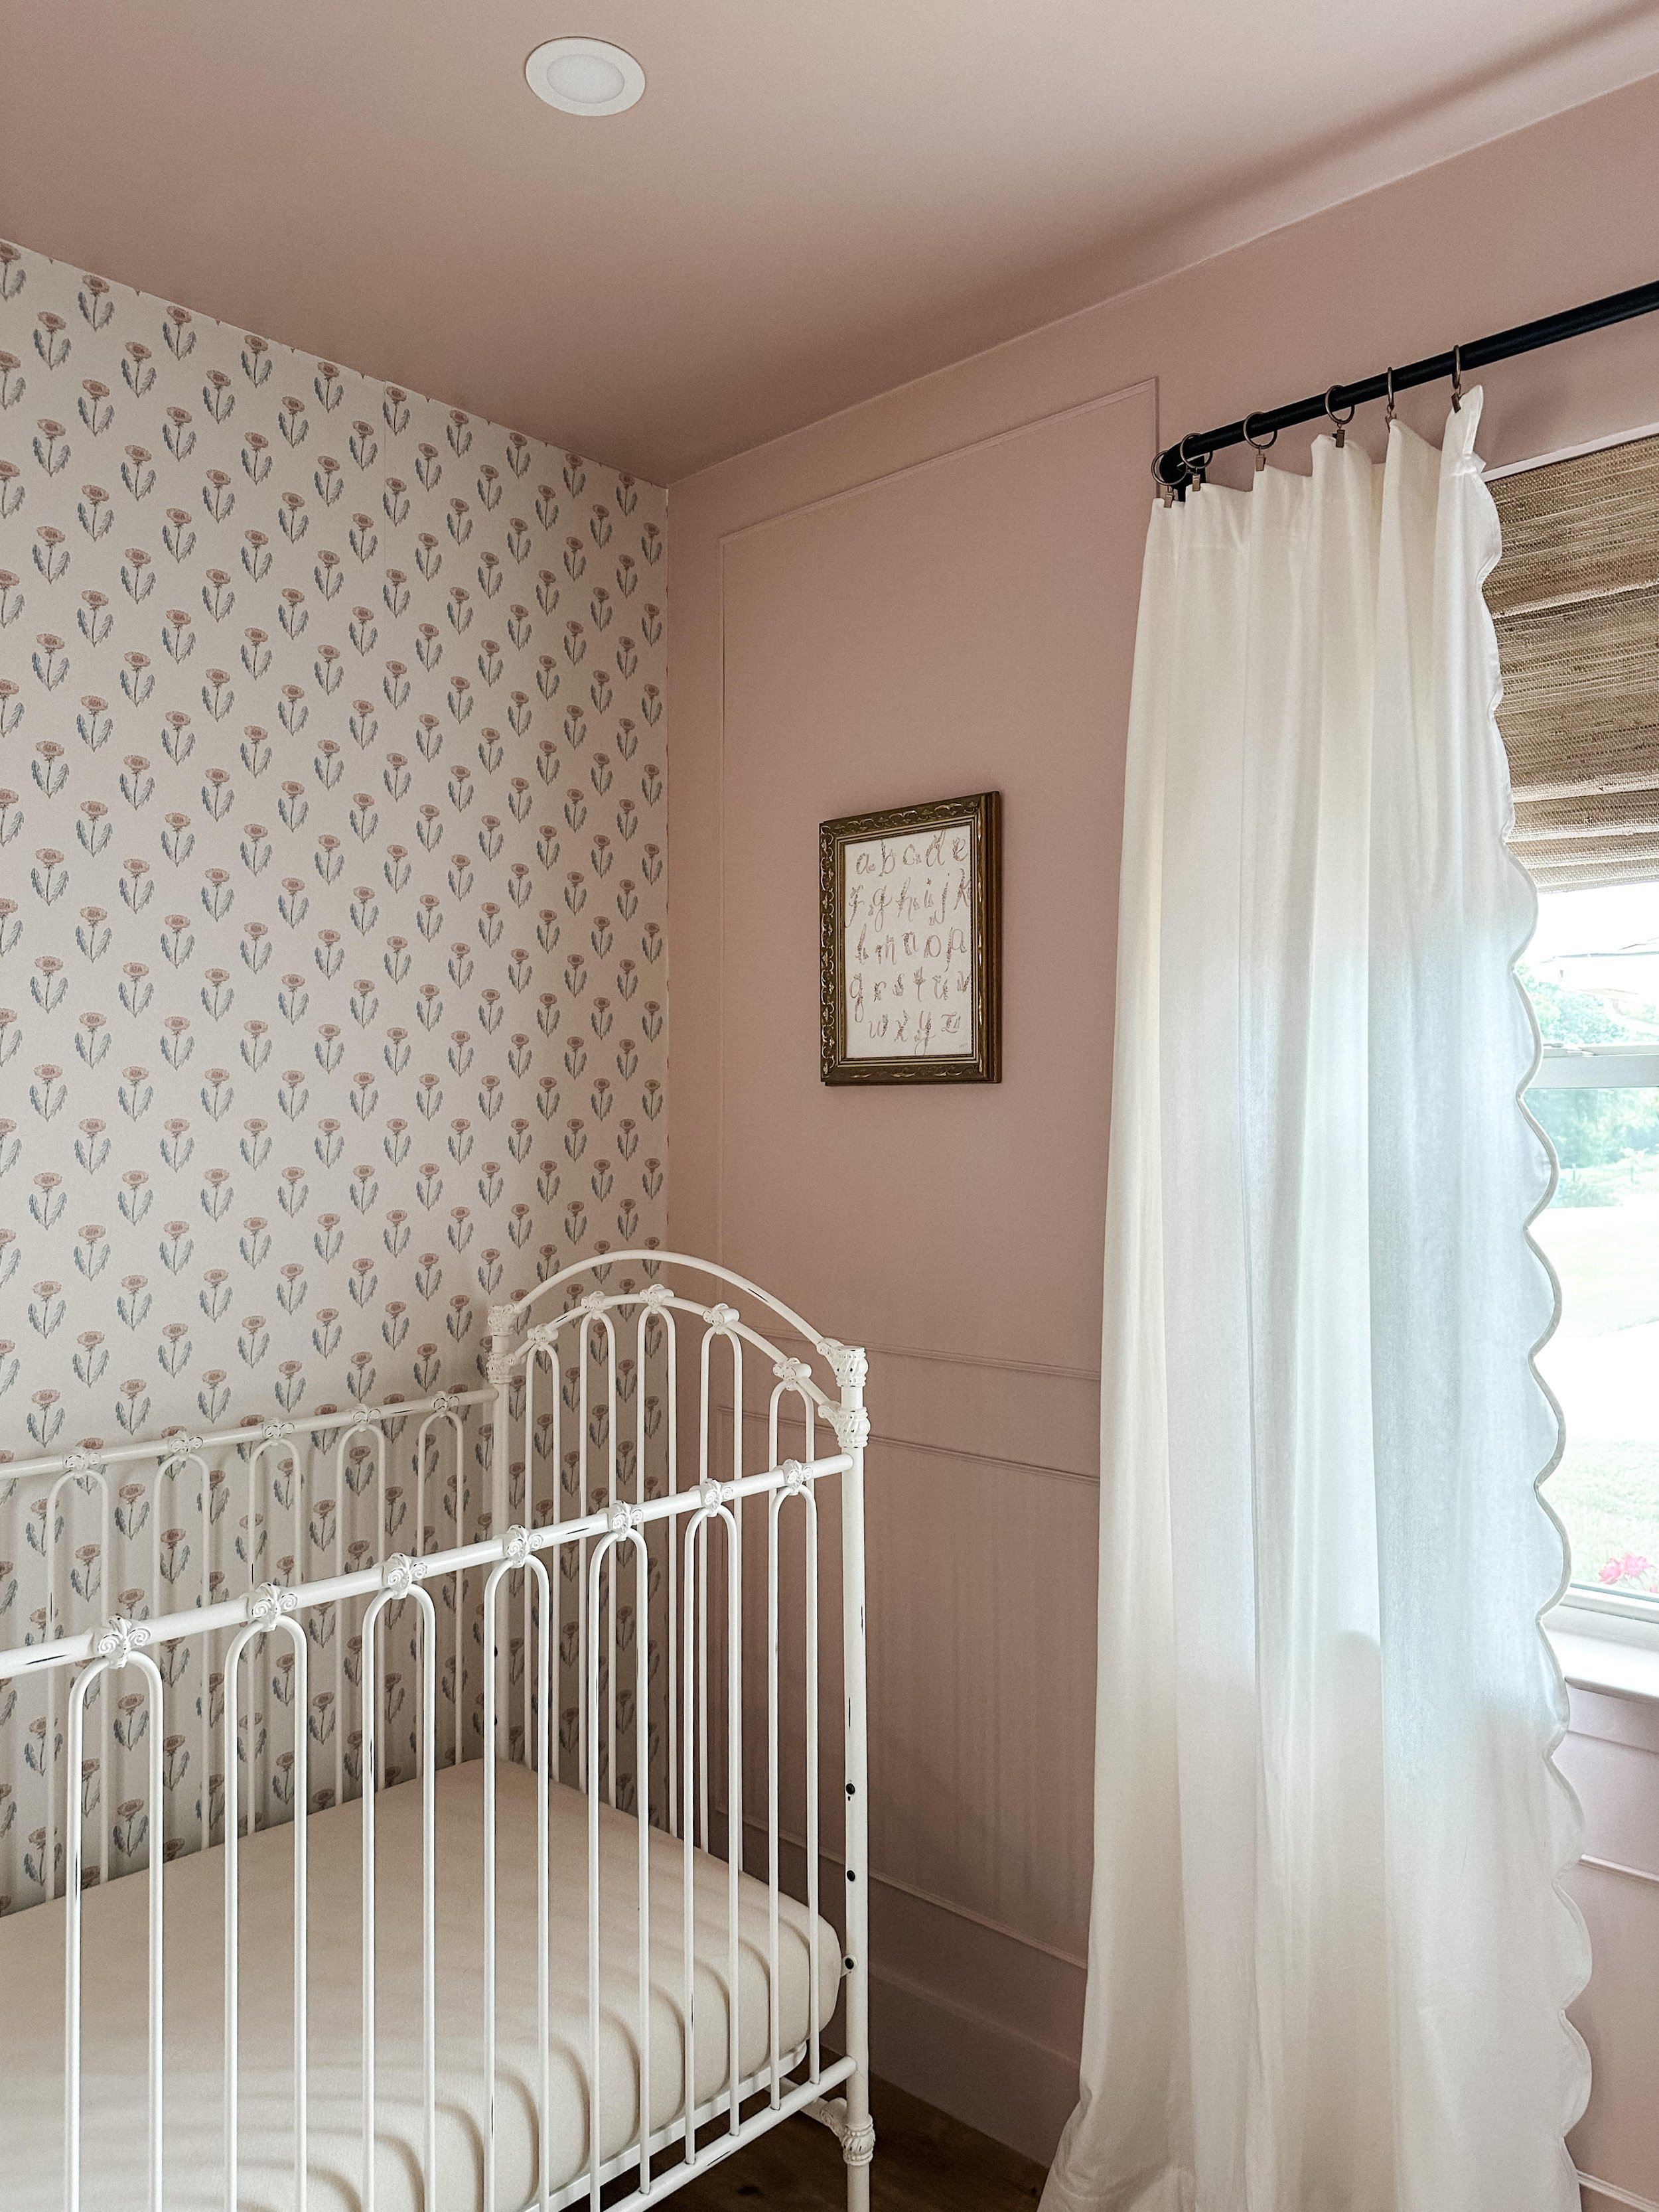
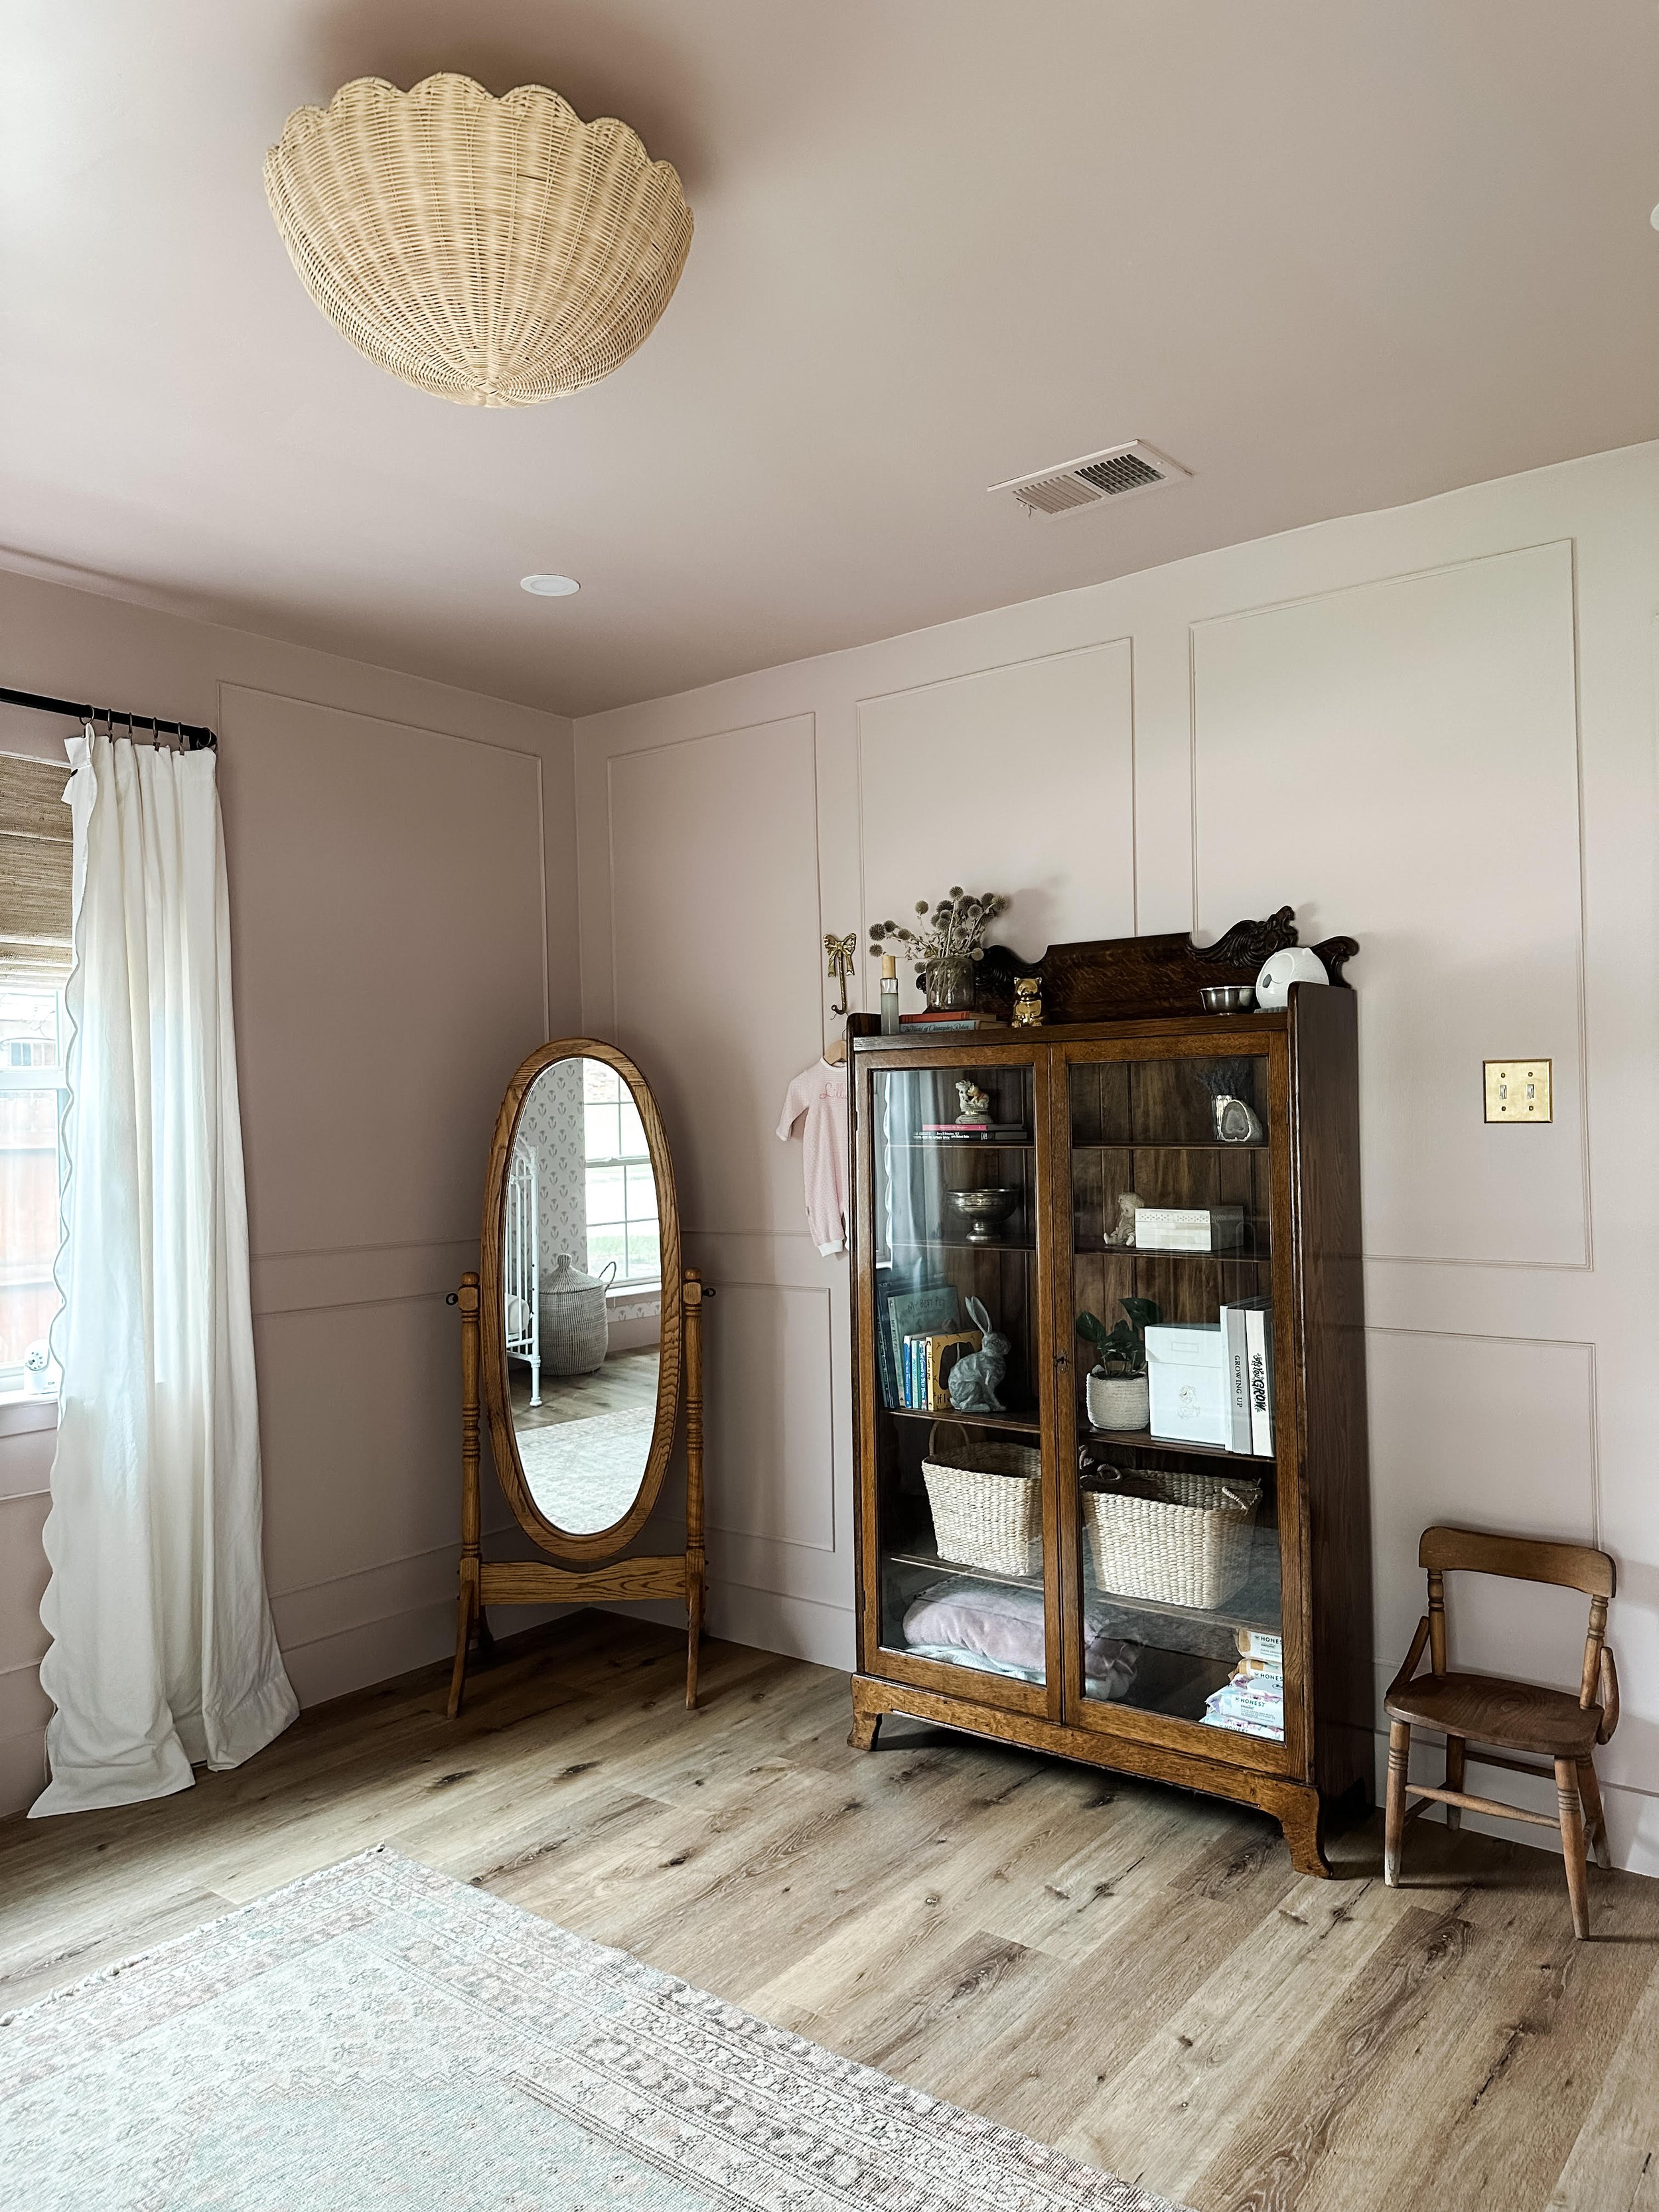
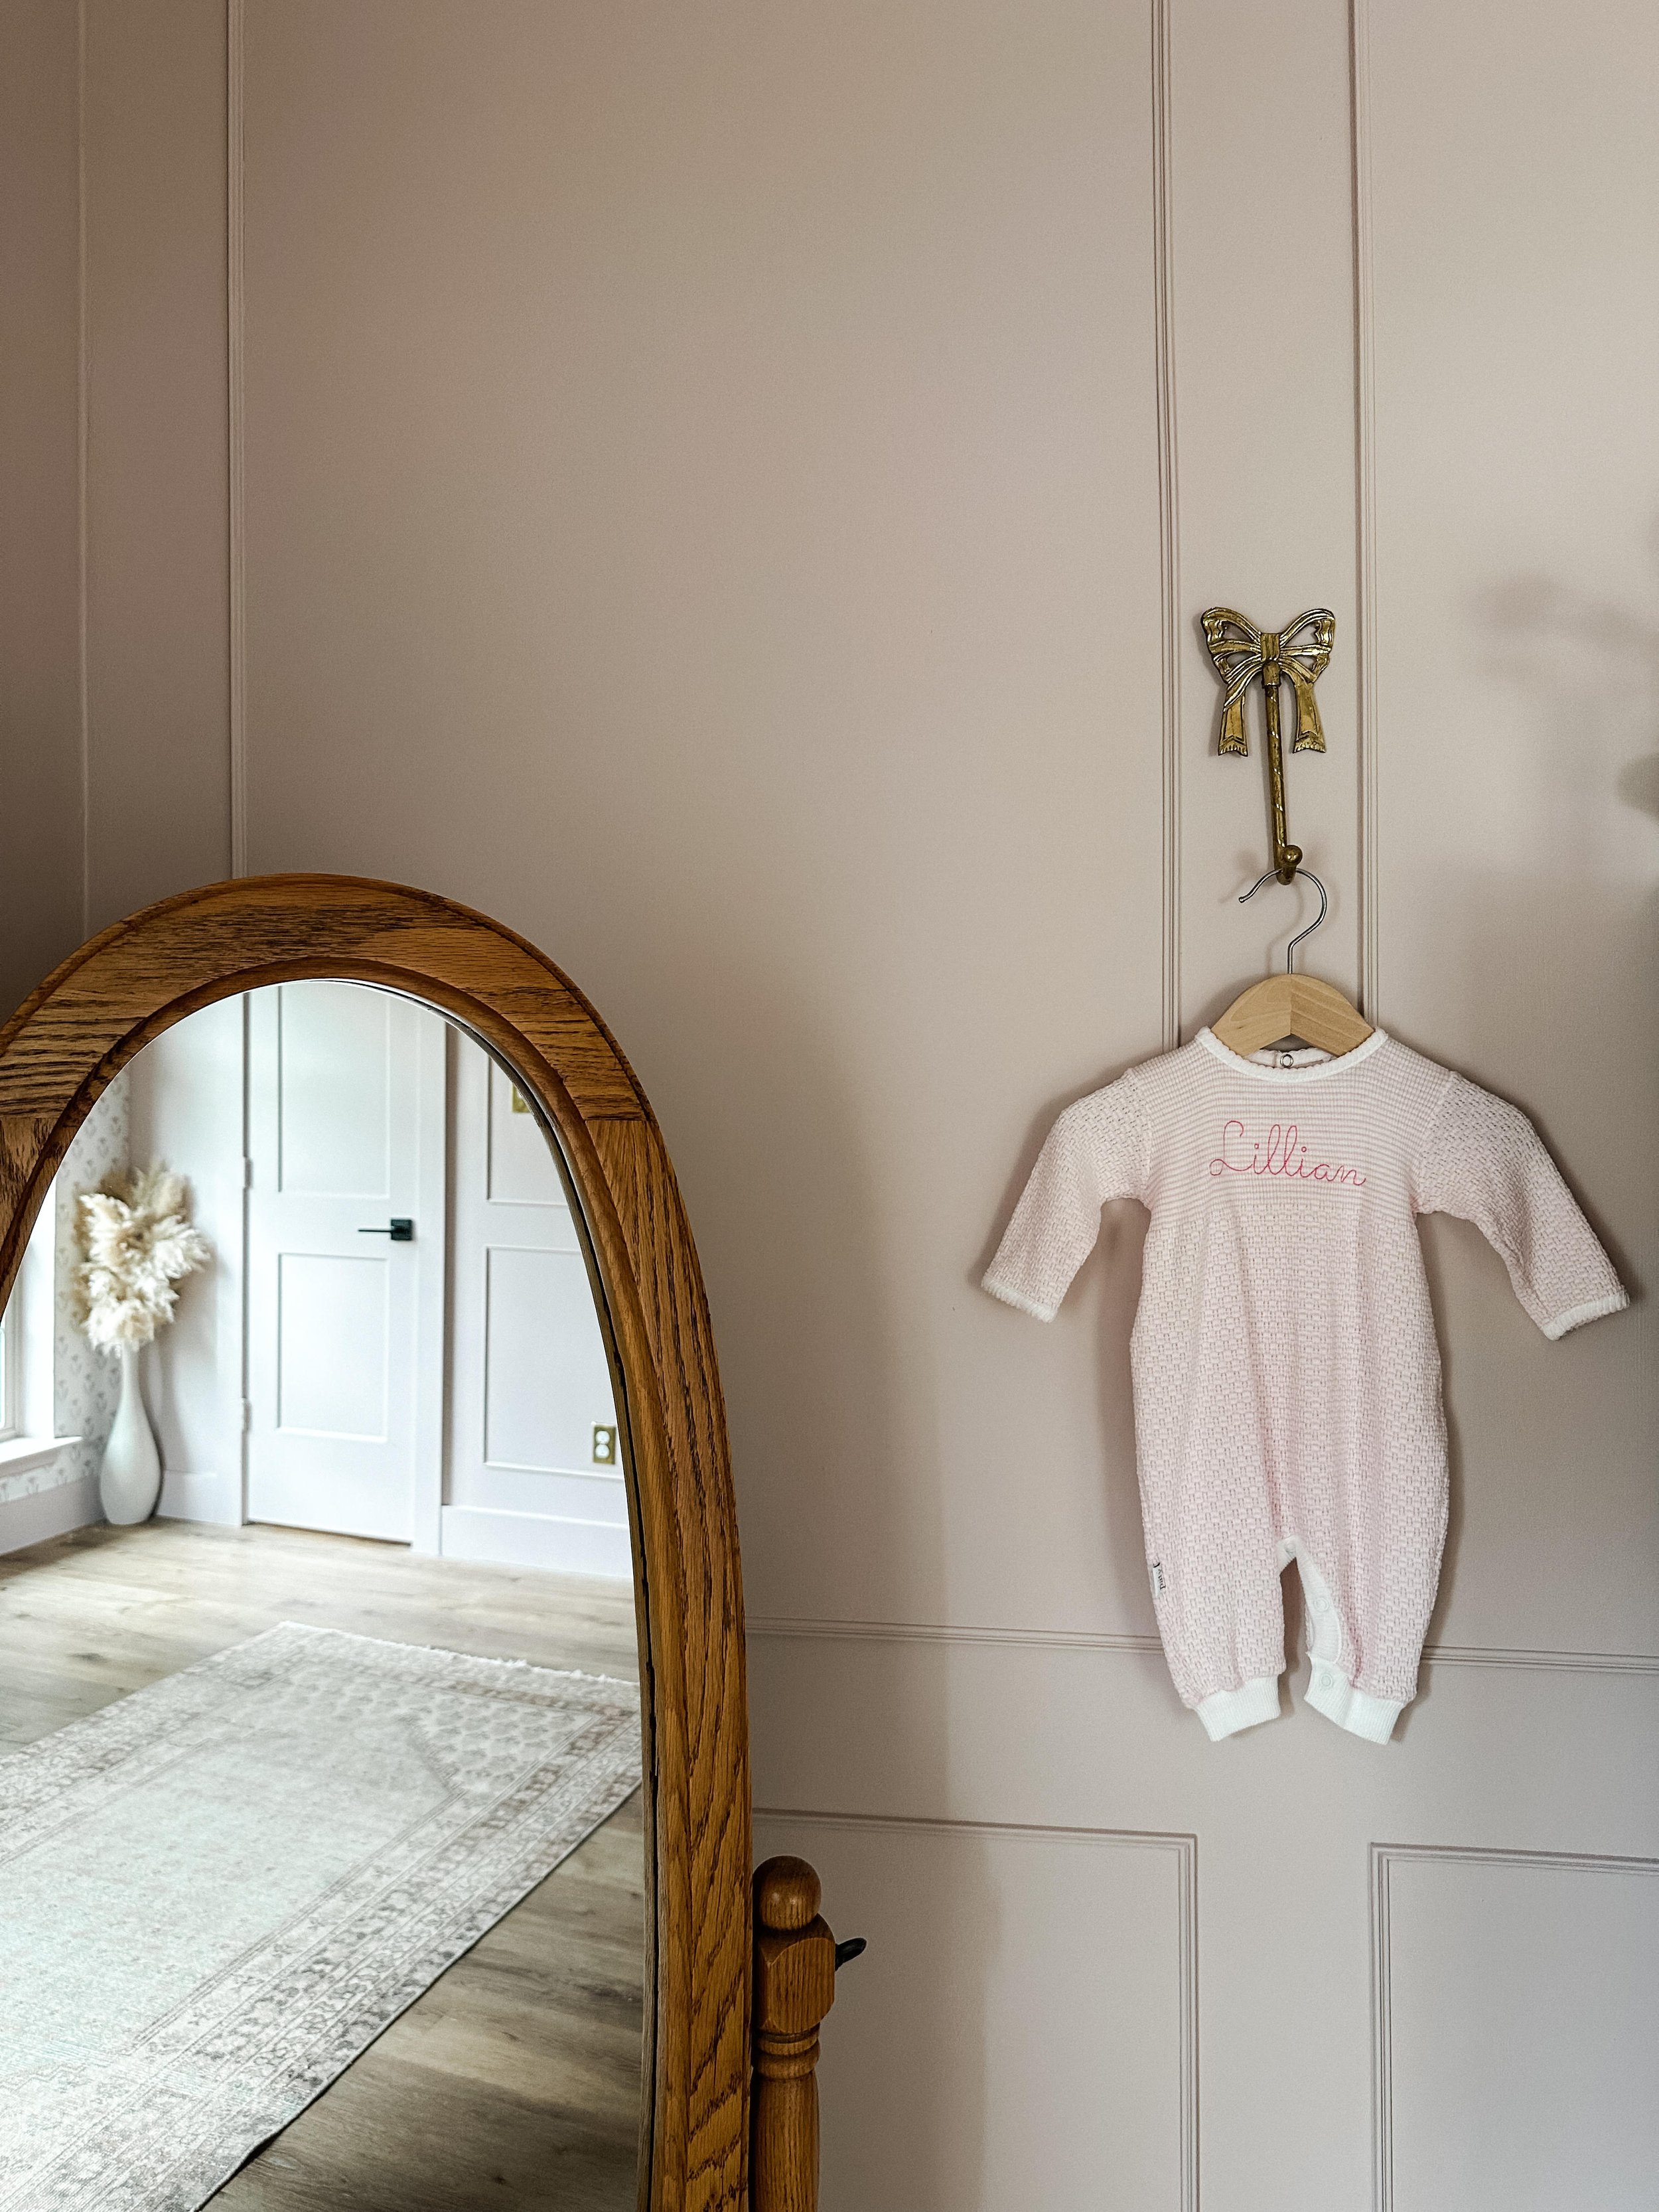
We tackled box trim for our sweet girls big girl nursery for the first time, and we wanted to share some tips and tricks that we learned along the way. This is not a difficult project, but it definitely takes some concentration and pre planning for it to go smoothly. Box trim is a great way to easily add dimension and depth to a space, especially when you have large blank walls without room or need for furniture. We have a generally simple style, and this is the perfect way to make a space feel more thought out and finished with this subtle design element.
Considerations in choosing size/spacing
First, it is important that you thoughtfully plan the size boxes that you want. I think that this will change room to room, and also based on the overall look that you are going for. A good option is to utilize a painters tape to better visualize options in your space- we are pretty decisive and fly by the seat of our pants so we just held up a tape measure and went with it.
Overall look you are going for: I wanted to keep it rather simple with a larger box at the top with a smaller box below, but there are so many options to add a chair rail or crown moldings as well.
Spacing: It is easiest to keep a uniform spacing surrounding the boxes (baseboard to trim, trim to trim, corner to trim, trim to ceiling) so that you can utilize a spacer block with installation that we will discuss more below. We felt that spacing between 3-7 inches would look best, and we landed on 5 inches after taking into account the last consideration below.
Location of outlets, light switches, windows, door frames, etc. Mindfulness of these details is helpful in choosing size of boxes to avoid having trim broken up.
Pricing
There is a big range of trim prices, and it can get very expensive quickly when doing a box trim project like this for a whole room. I knew that esthetically wanted a low profile, subtle trim option, but I was a bit nervous that the smallest (more affordable) option would be too small. It is rather difficult to visualize the trim in your space, and I was still nervous that it was too small even after bringing the trim home, but it turned out perfect. This trim option is only $0.63/foot, compared to many other larger trim options that are $2+/foot. Truly, I think the trim size is perfect to get the desired dimension, but without absolutely breaking the bank.
Trim was not available for purchase in store so we purchased online [linked below]
Installation
The key to an easy installation is pre planning, and proof of this was complete installation in the time it took me to do a quick grocery store run. Pre planning includes obtaining all measurements (I will say this takes someone who is rather good at math), and keeping all cut pieces organized based on wall. Use of accurate spacer blocks allows for true ease of installation to keep all spacing consistent- you can cut from any piece of scrap wood that you have to the spacing size that you decide on (ours was 5 inches). The key is to have consistent cuts. If you have consistency in your cuts installation is very quick, and does not even require a straight edge/level unless a piece is bowed. We used a small brad nail for installation of this low profile trim, and 2-3 nails/piece was sufficient for holding in place.
What to do:
Start at one corner, line up two pieces using spacer blocks
Visually line up miter cuts with the other two pieces to complete the box
Move onto opposite corner box on same wall, installing the same way
Lastly, move toward center on wall using installed corner box as reference for spacer block
A quick video demonstration of installation can be found here.
I hope you found this helpful in installing box trim in your home! More details on Lillian’s sweet big girl nursery can be found here.
xo, Kelly
Box trim link:
