

Kitchen Renovation: Choosing Countertops
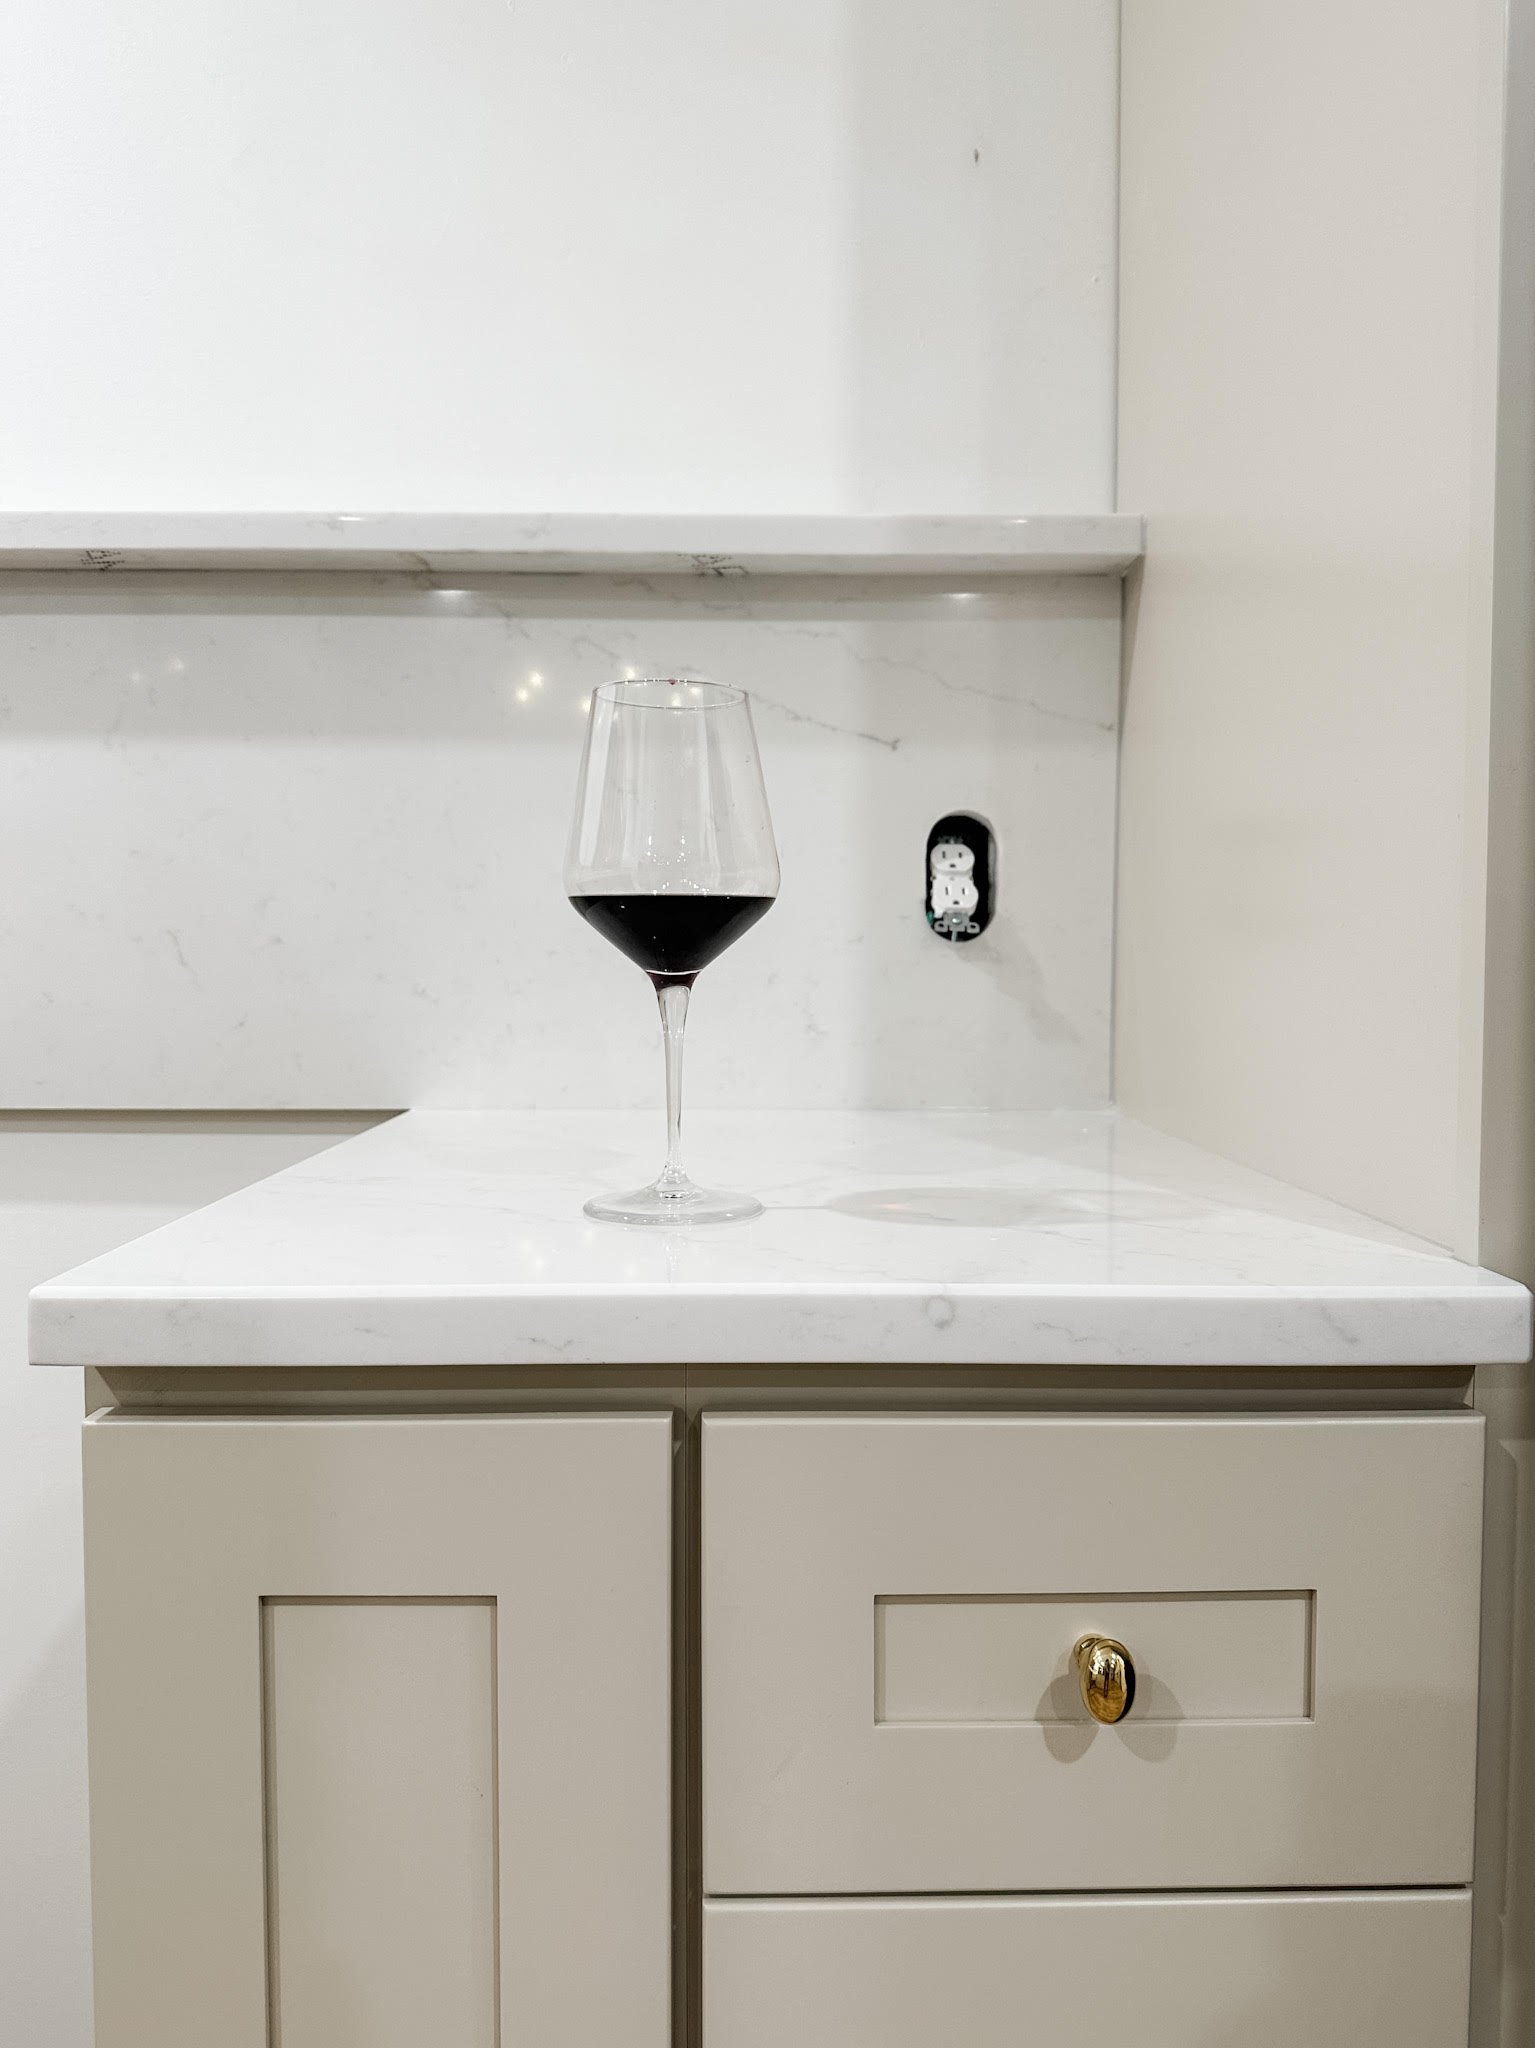
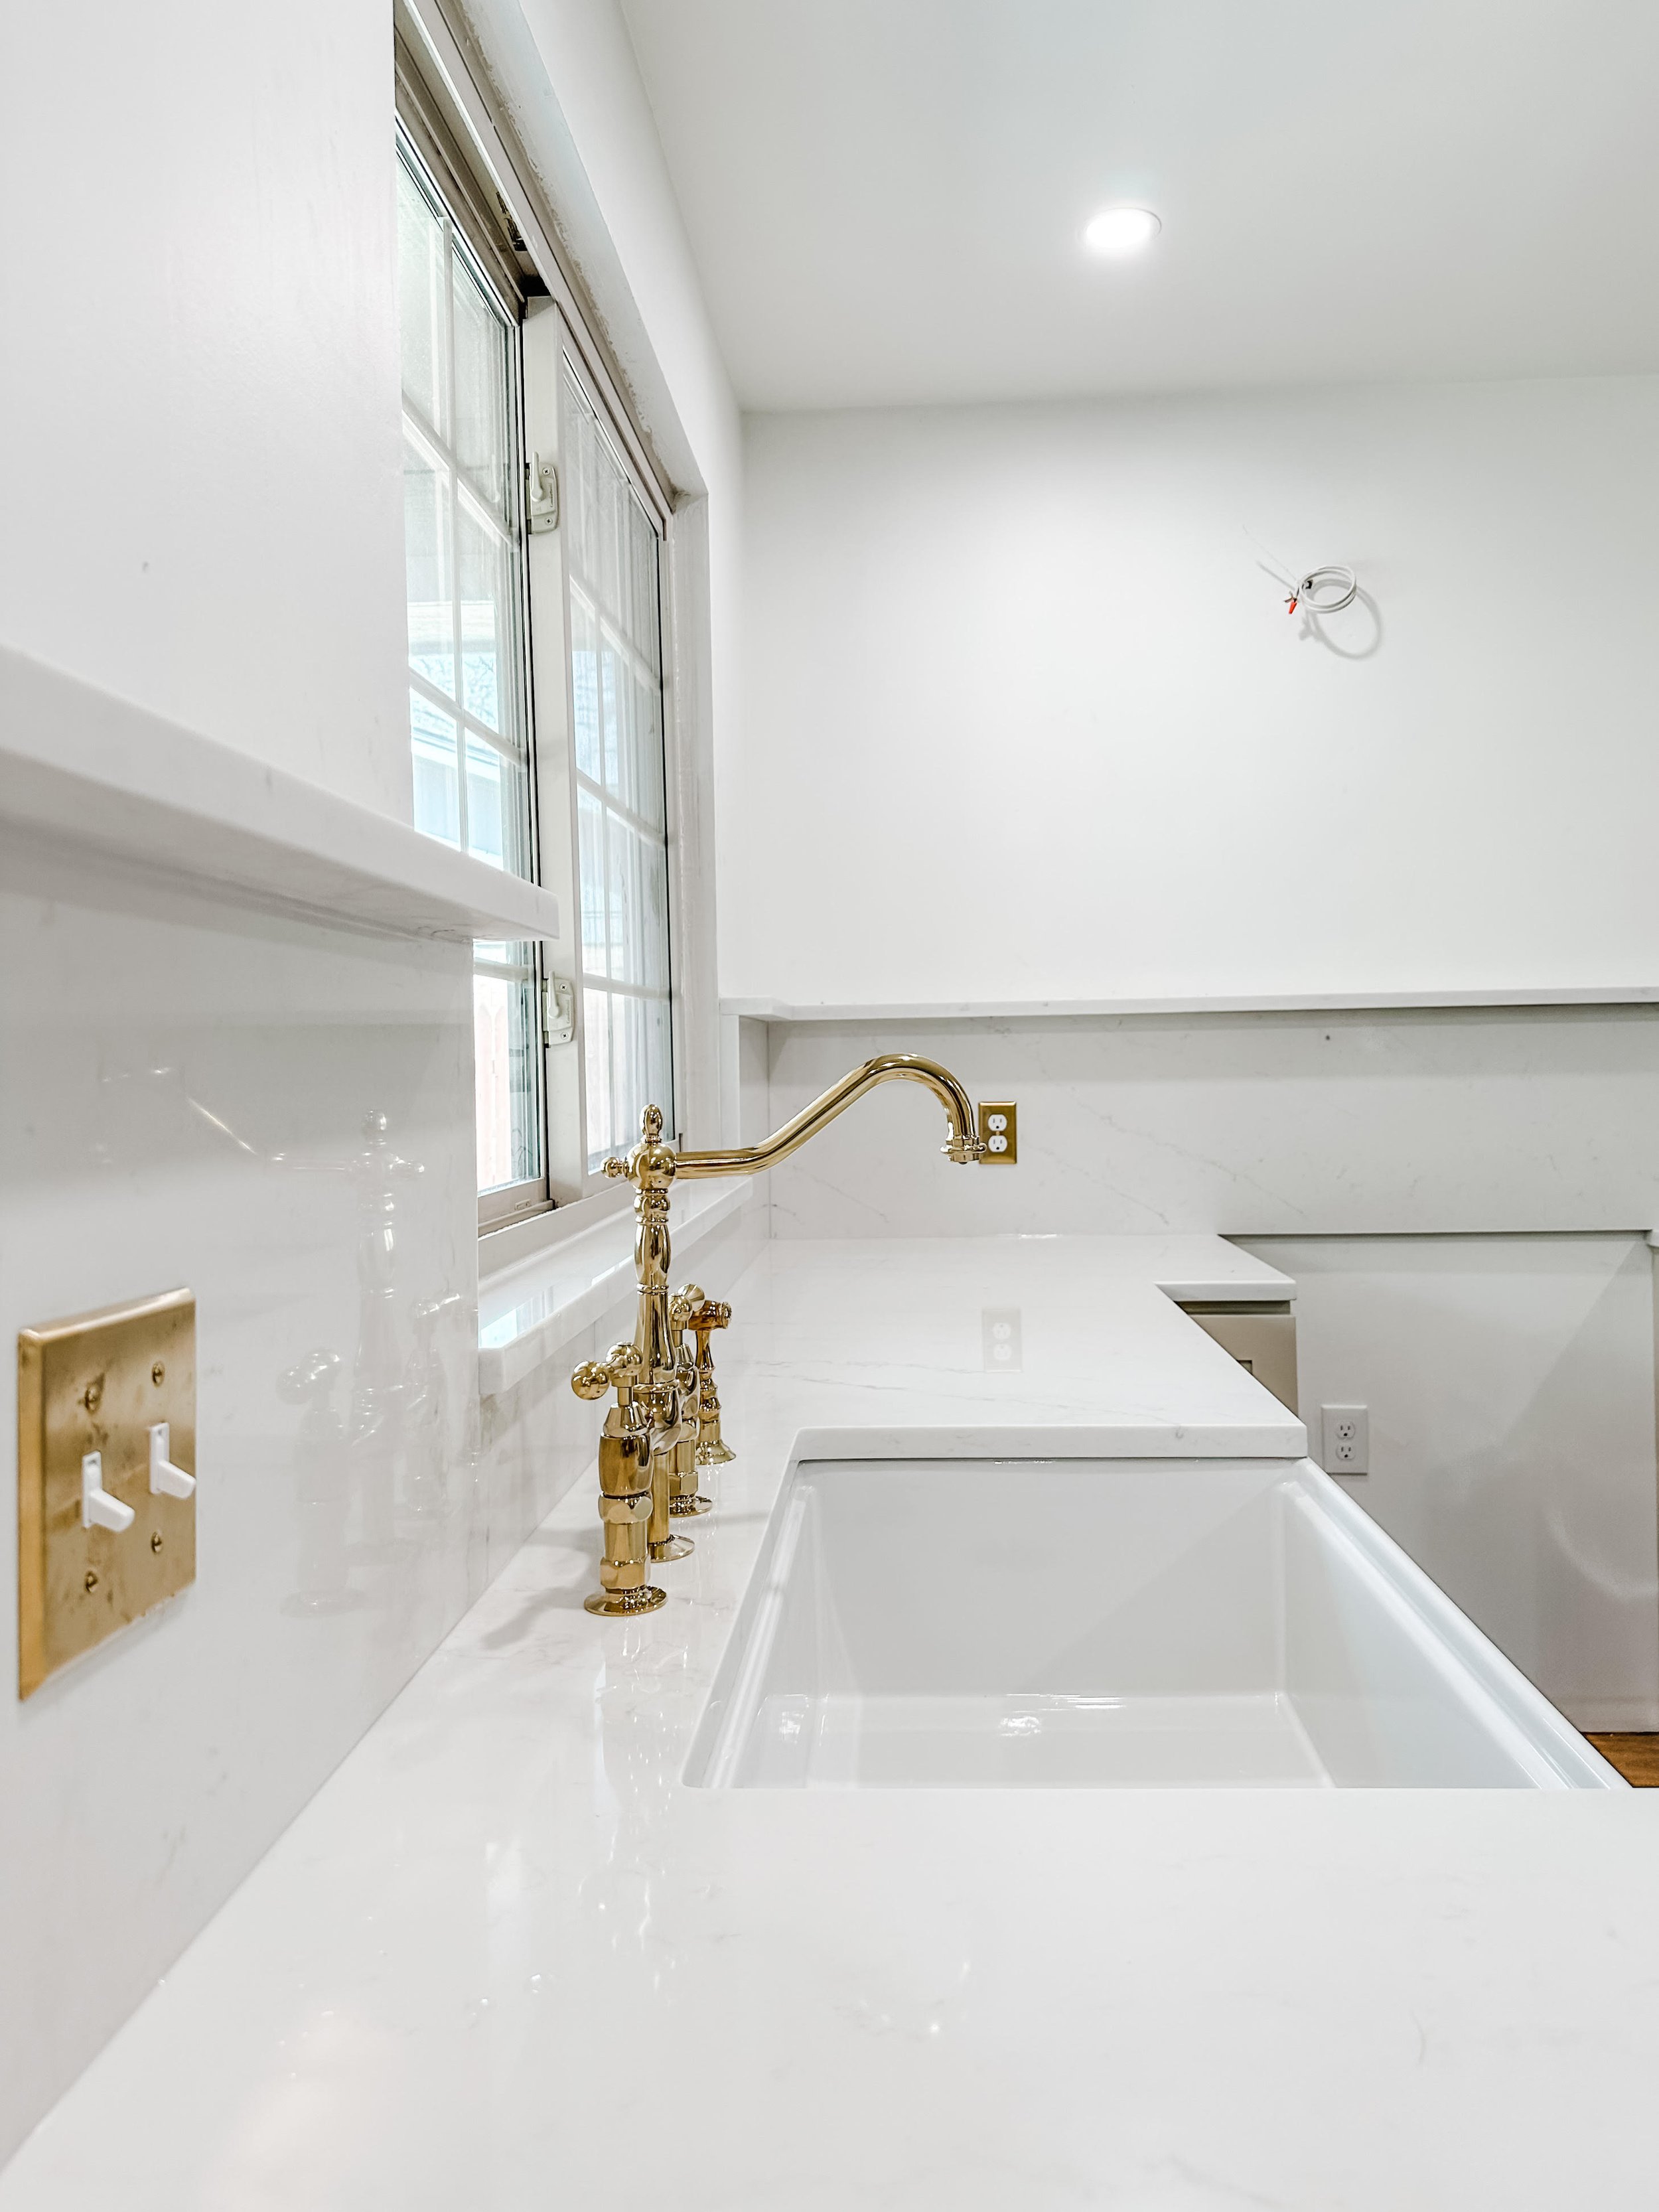
In planning our kitchen renovation, I had a vision of the countertops being the focal point by extending the countertop up the backsplash. I love the way that a quartz backsplash is showstopping, yet simplistic. We have previously used a more traditional tile backsplash, and to be honest, it was not my favorite task to scrub the splattered spaghetti sauce off of the grout.
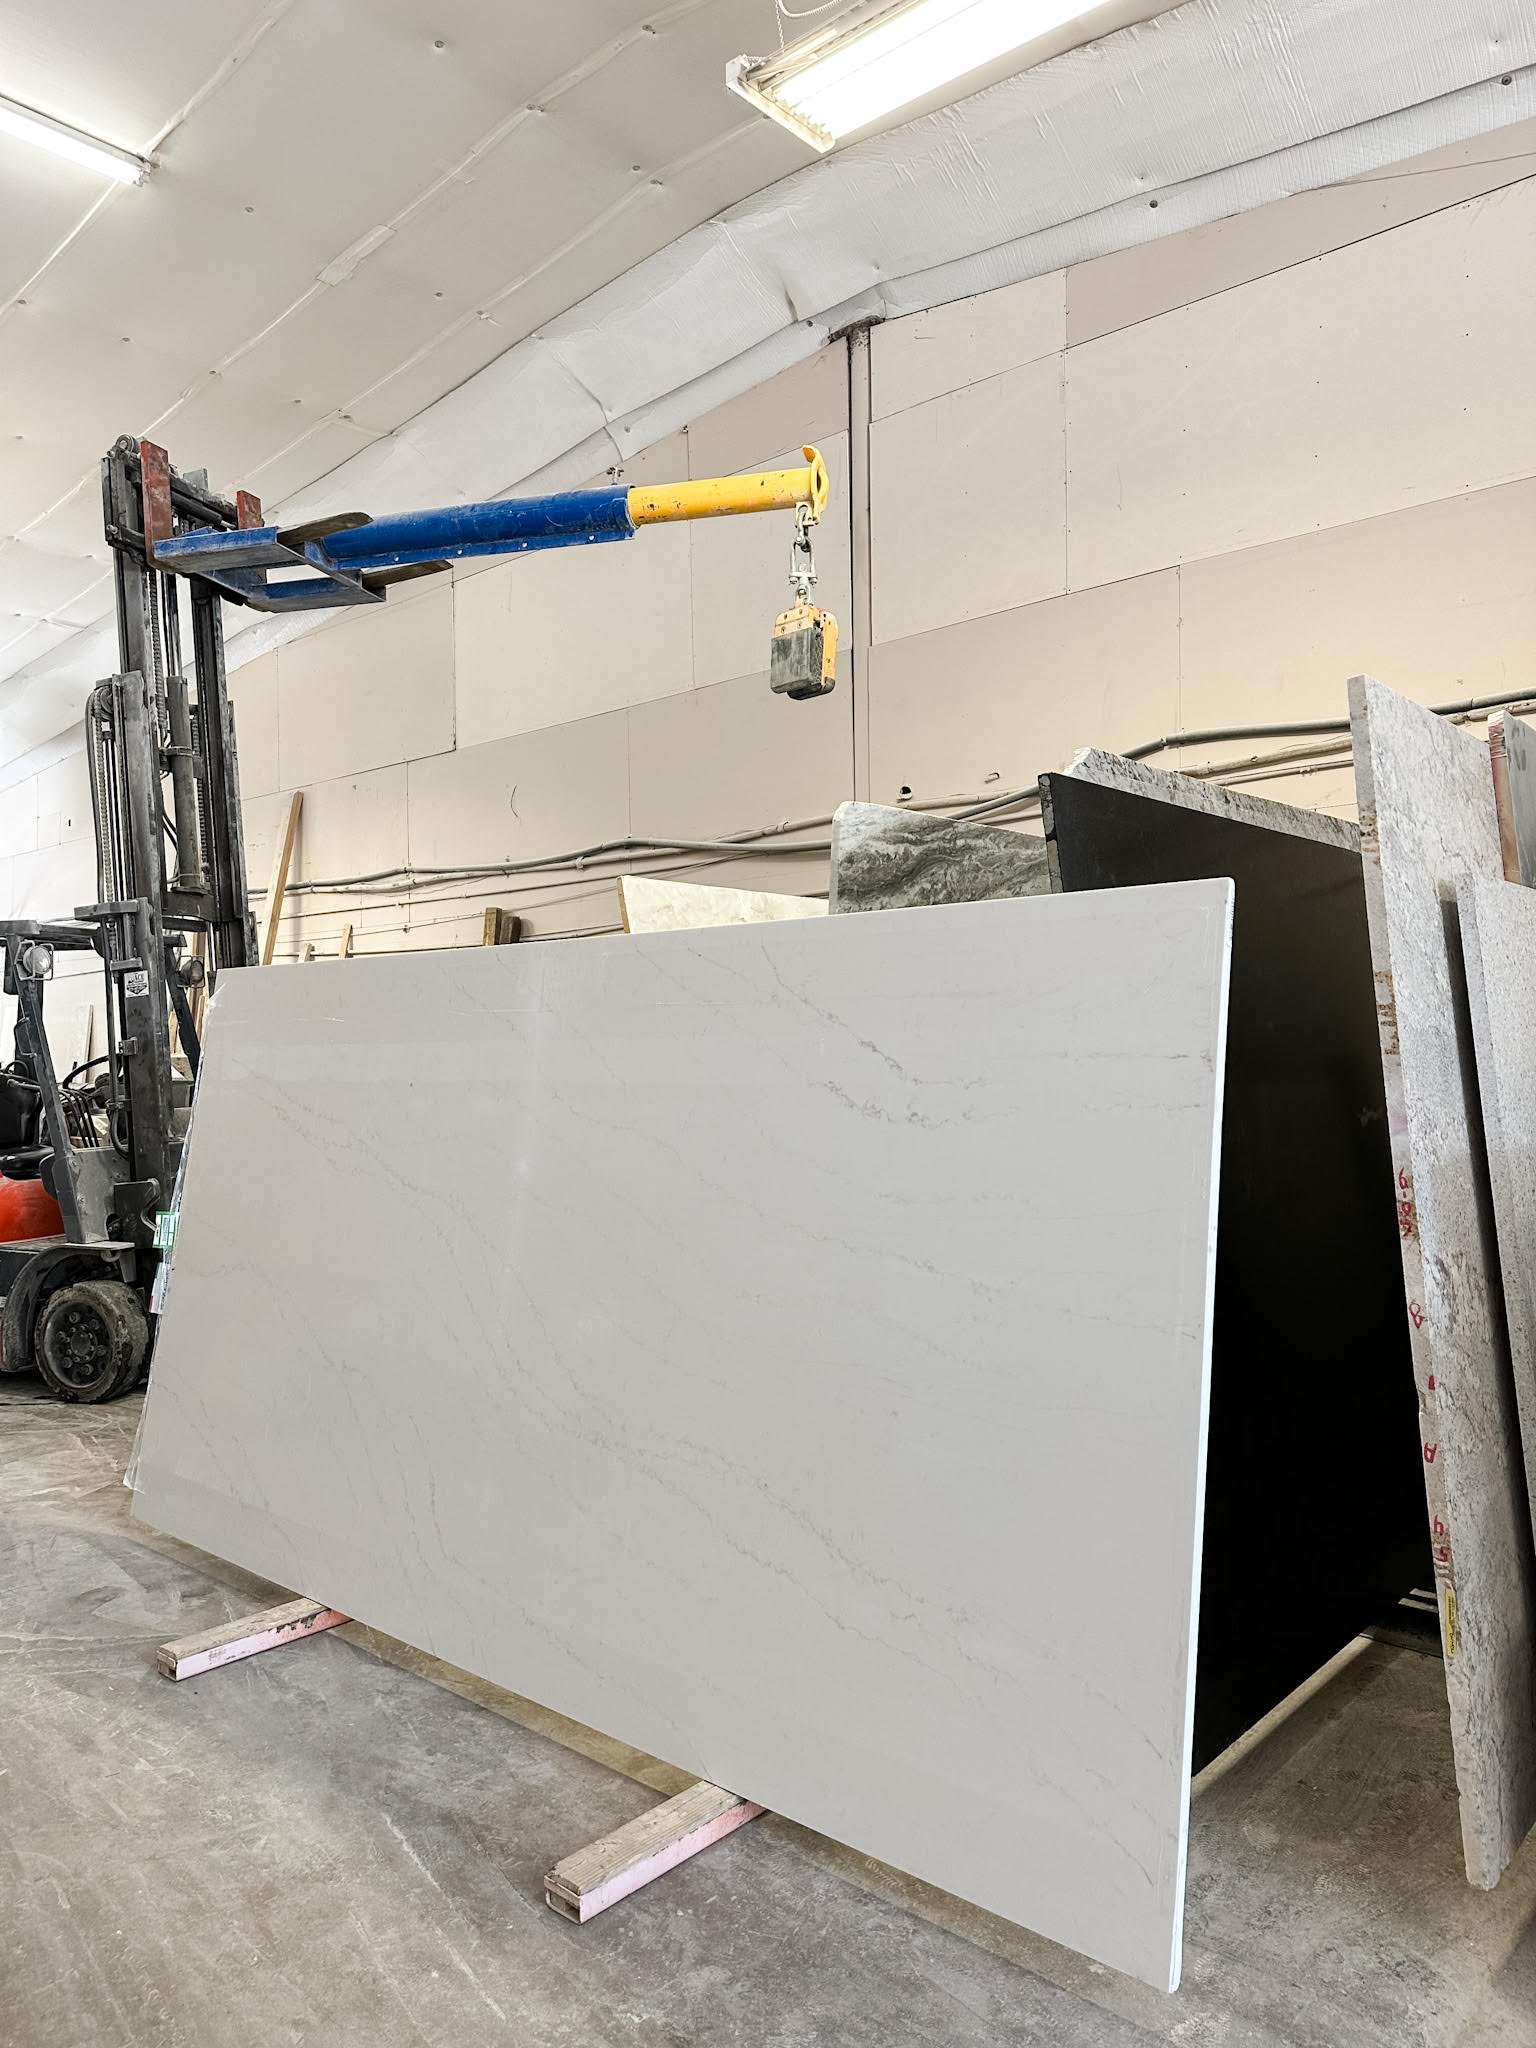
I knew that taking the countertop up the backsplash makes for more of a complicated installation and fabrication so I started doing my research on the best way to execute my vision. We have renovated two kitchens in the past, and have always used big box stores for the countertop portion of the project. Based on our past experience, I was worried that this job was going to be too complex for a big box store to execute. I also had a very specific vision in my head for the type and style of countertop that I wanted, and I felt limited with options as well as confidence in choosing a stone without seeing the whole slab. We ended up finding a countertop fabricator, and choosing our specific slabs directly at the countertop distributor. Check out my whole blog post on why you should consider using a fabricator for your countertop project here, but we could not be happier with that decision.
Kitchen Design
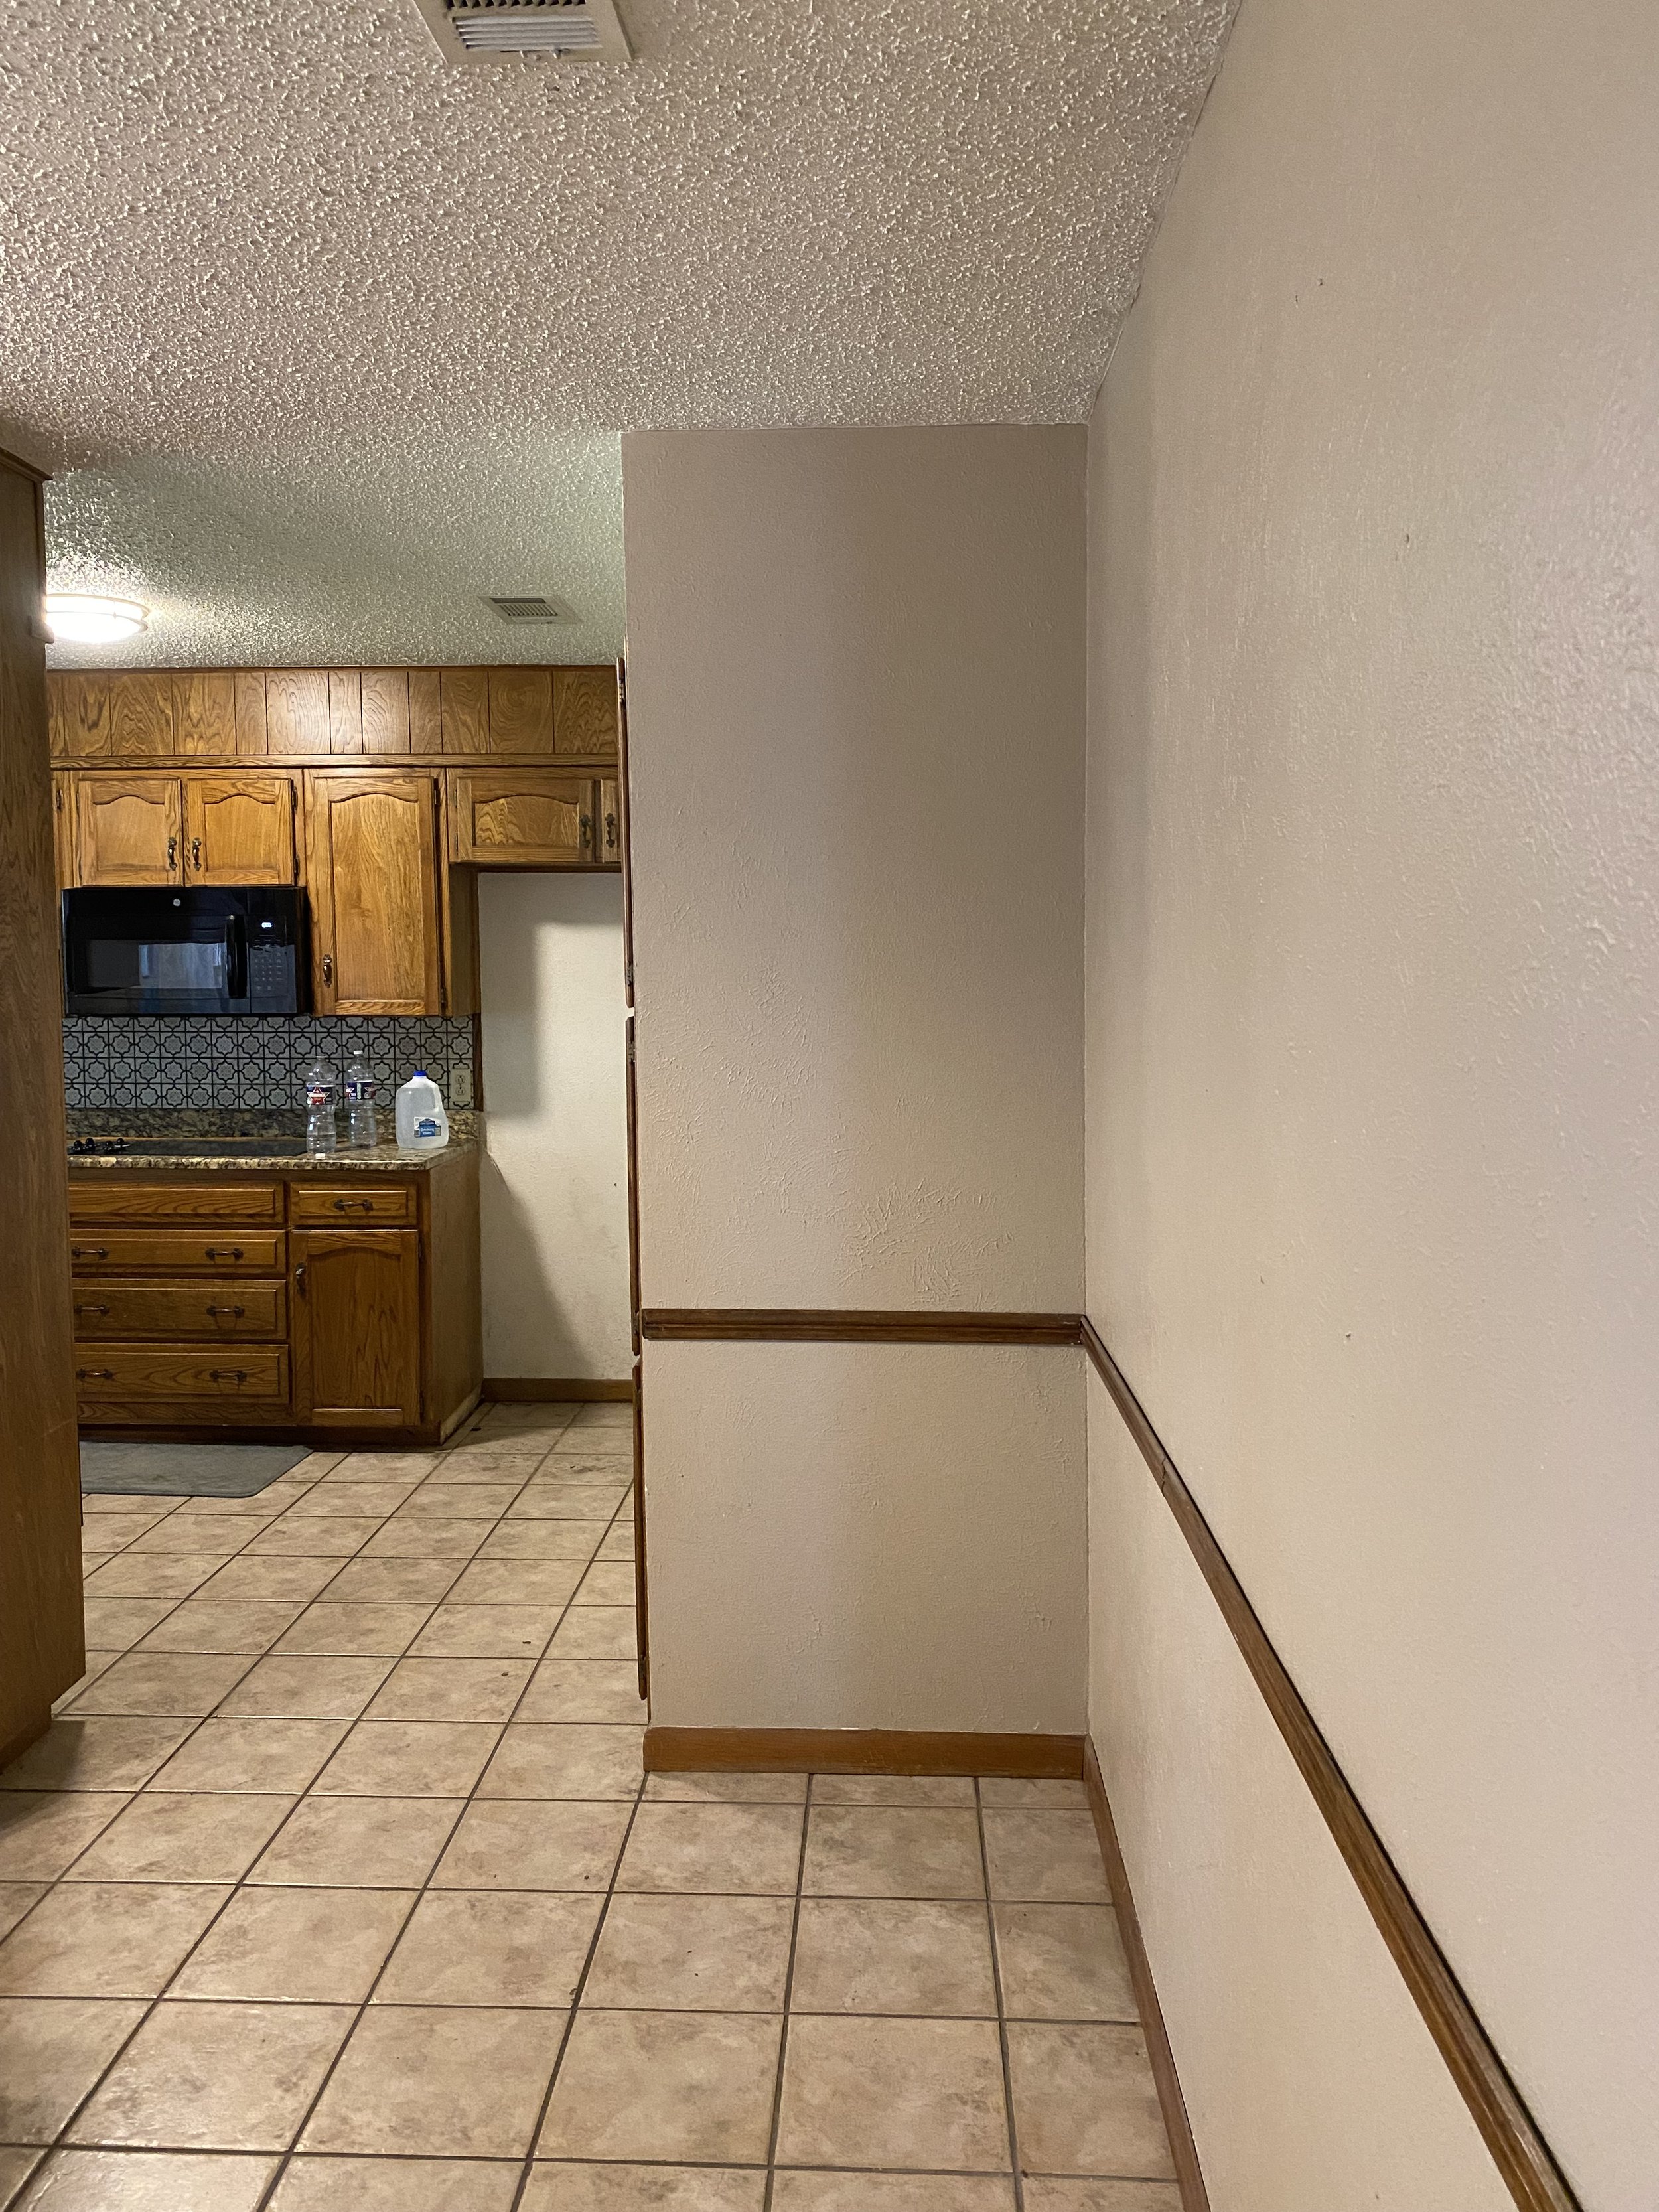
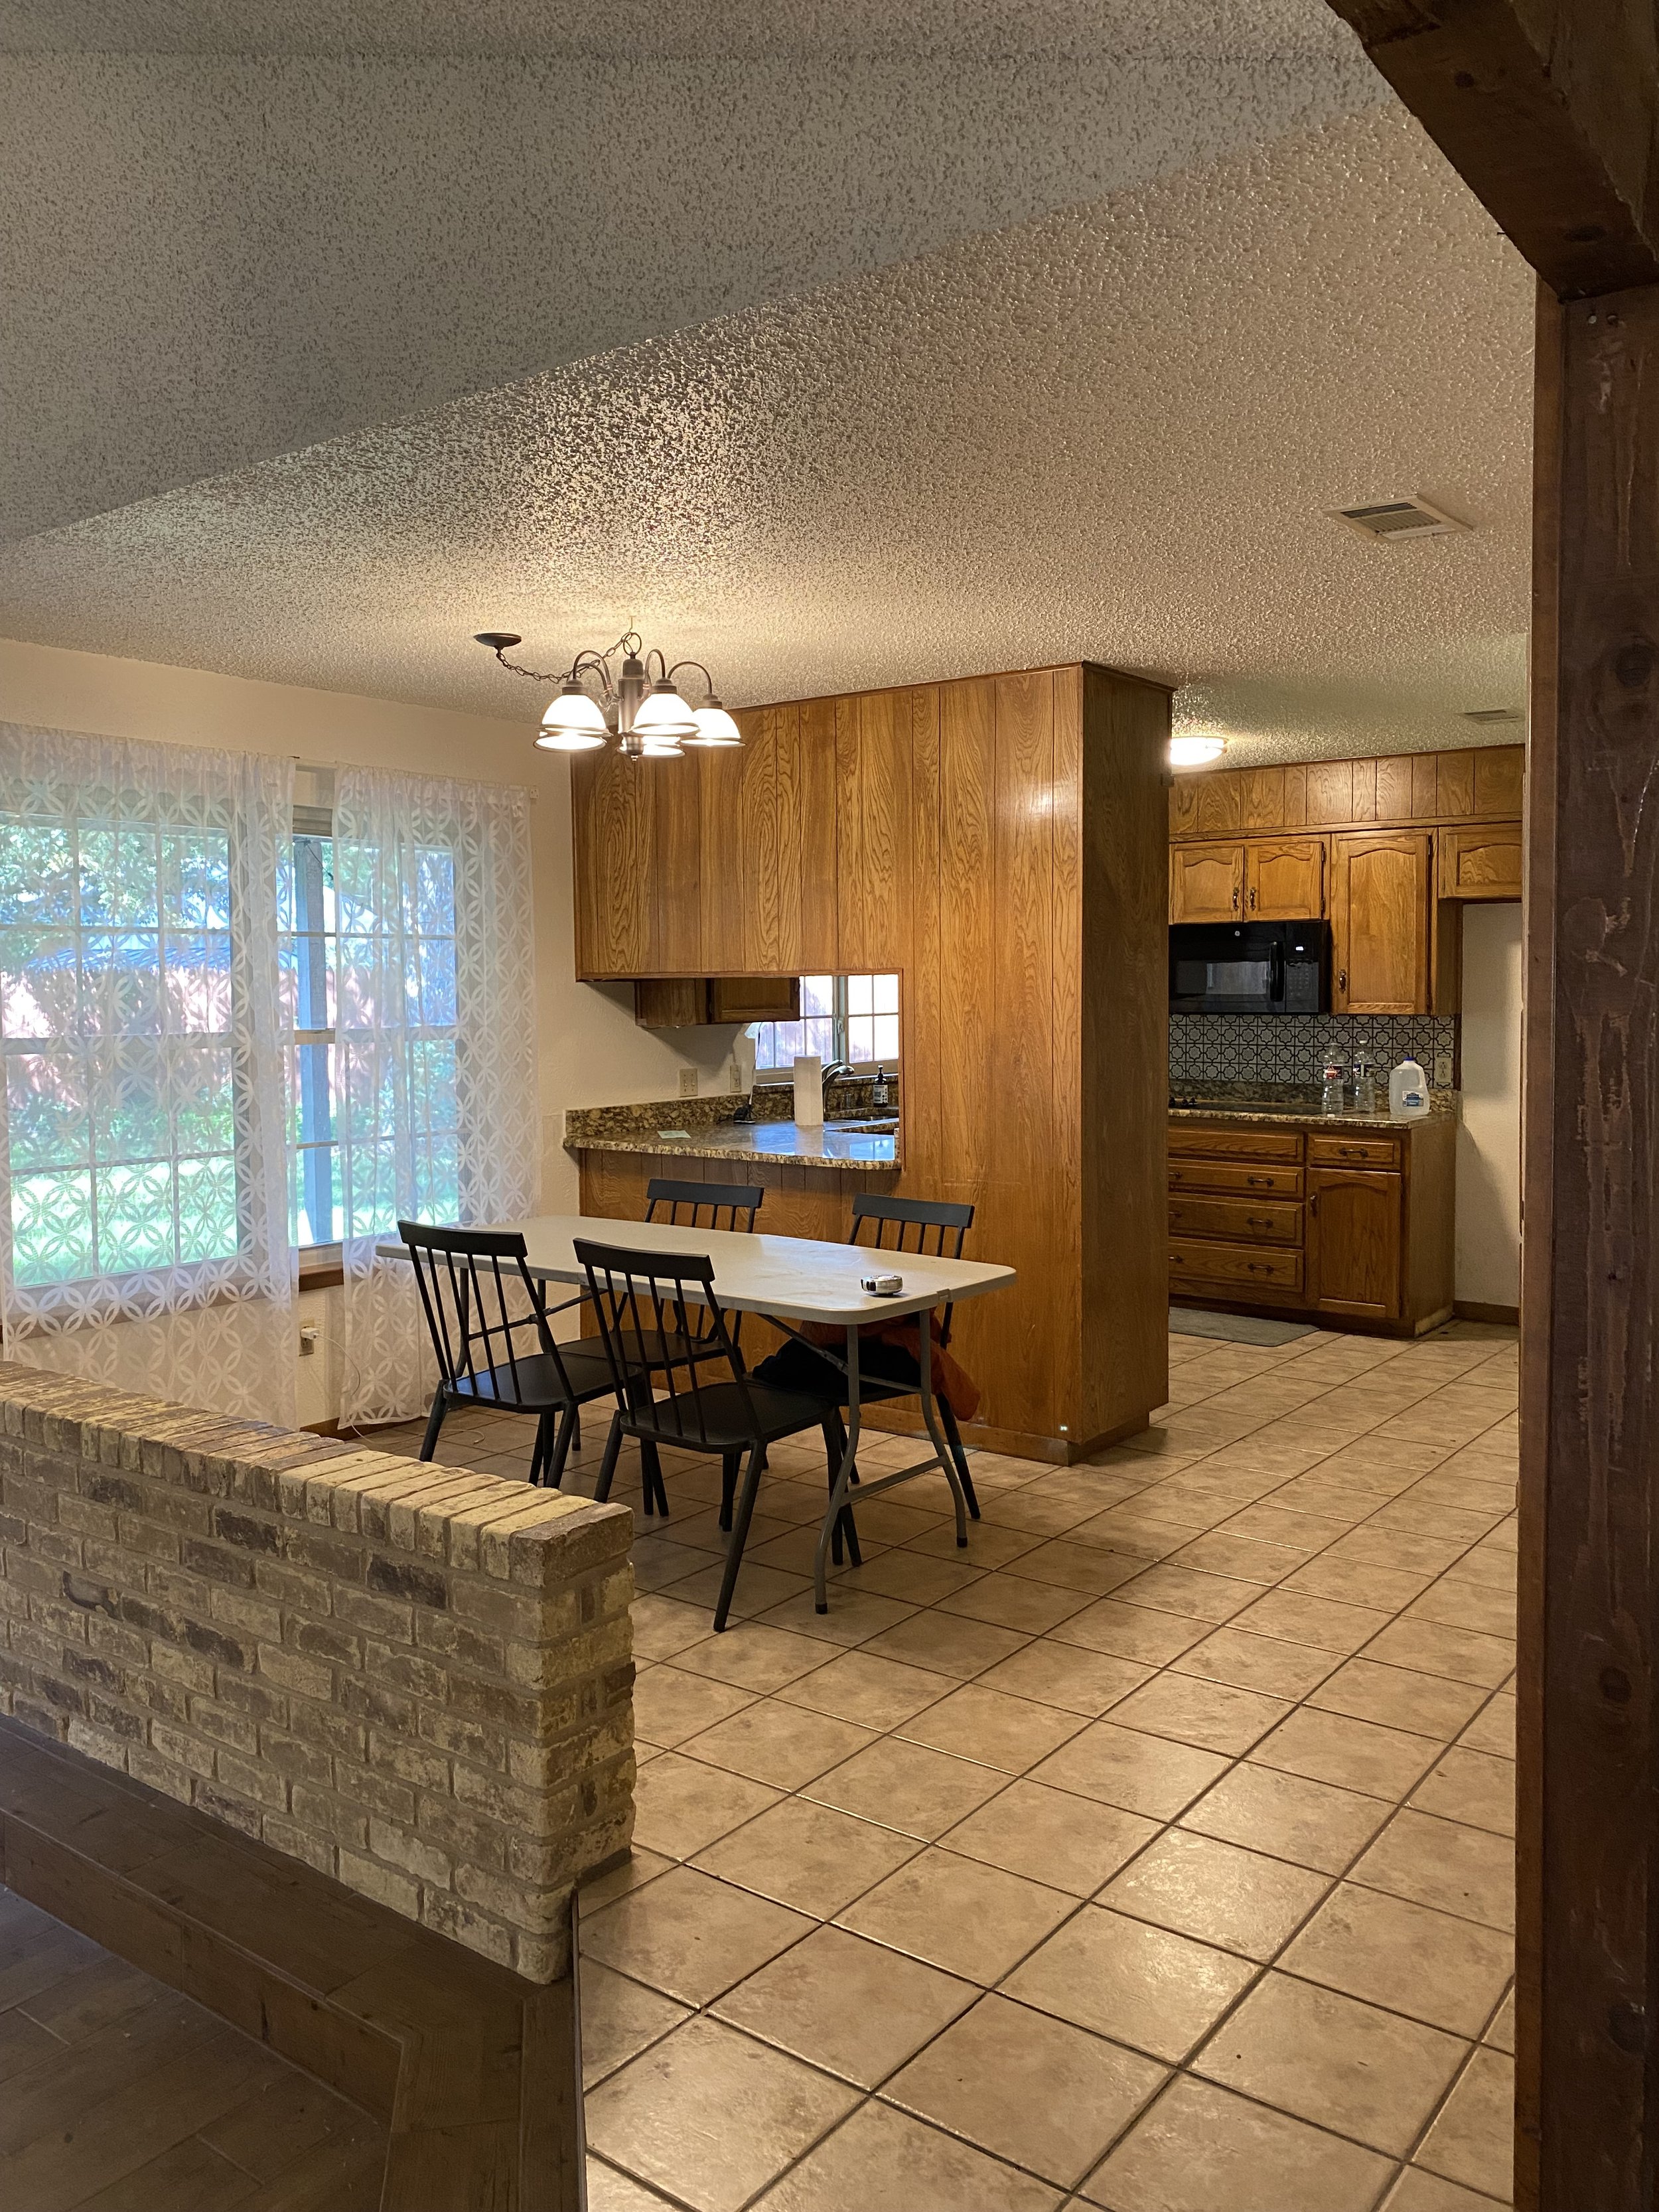
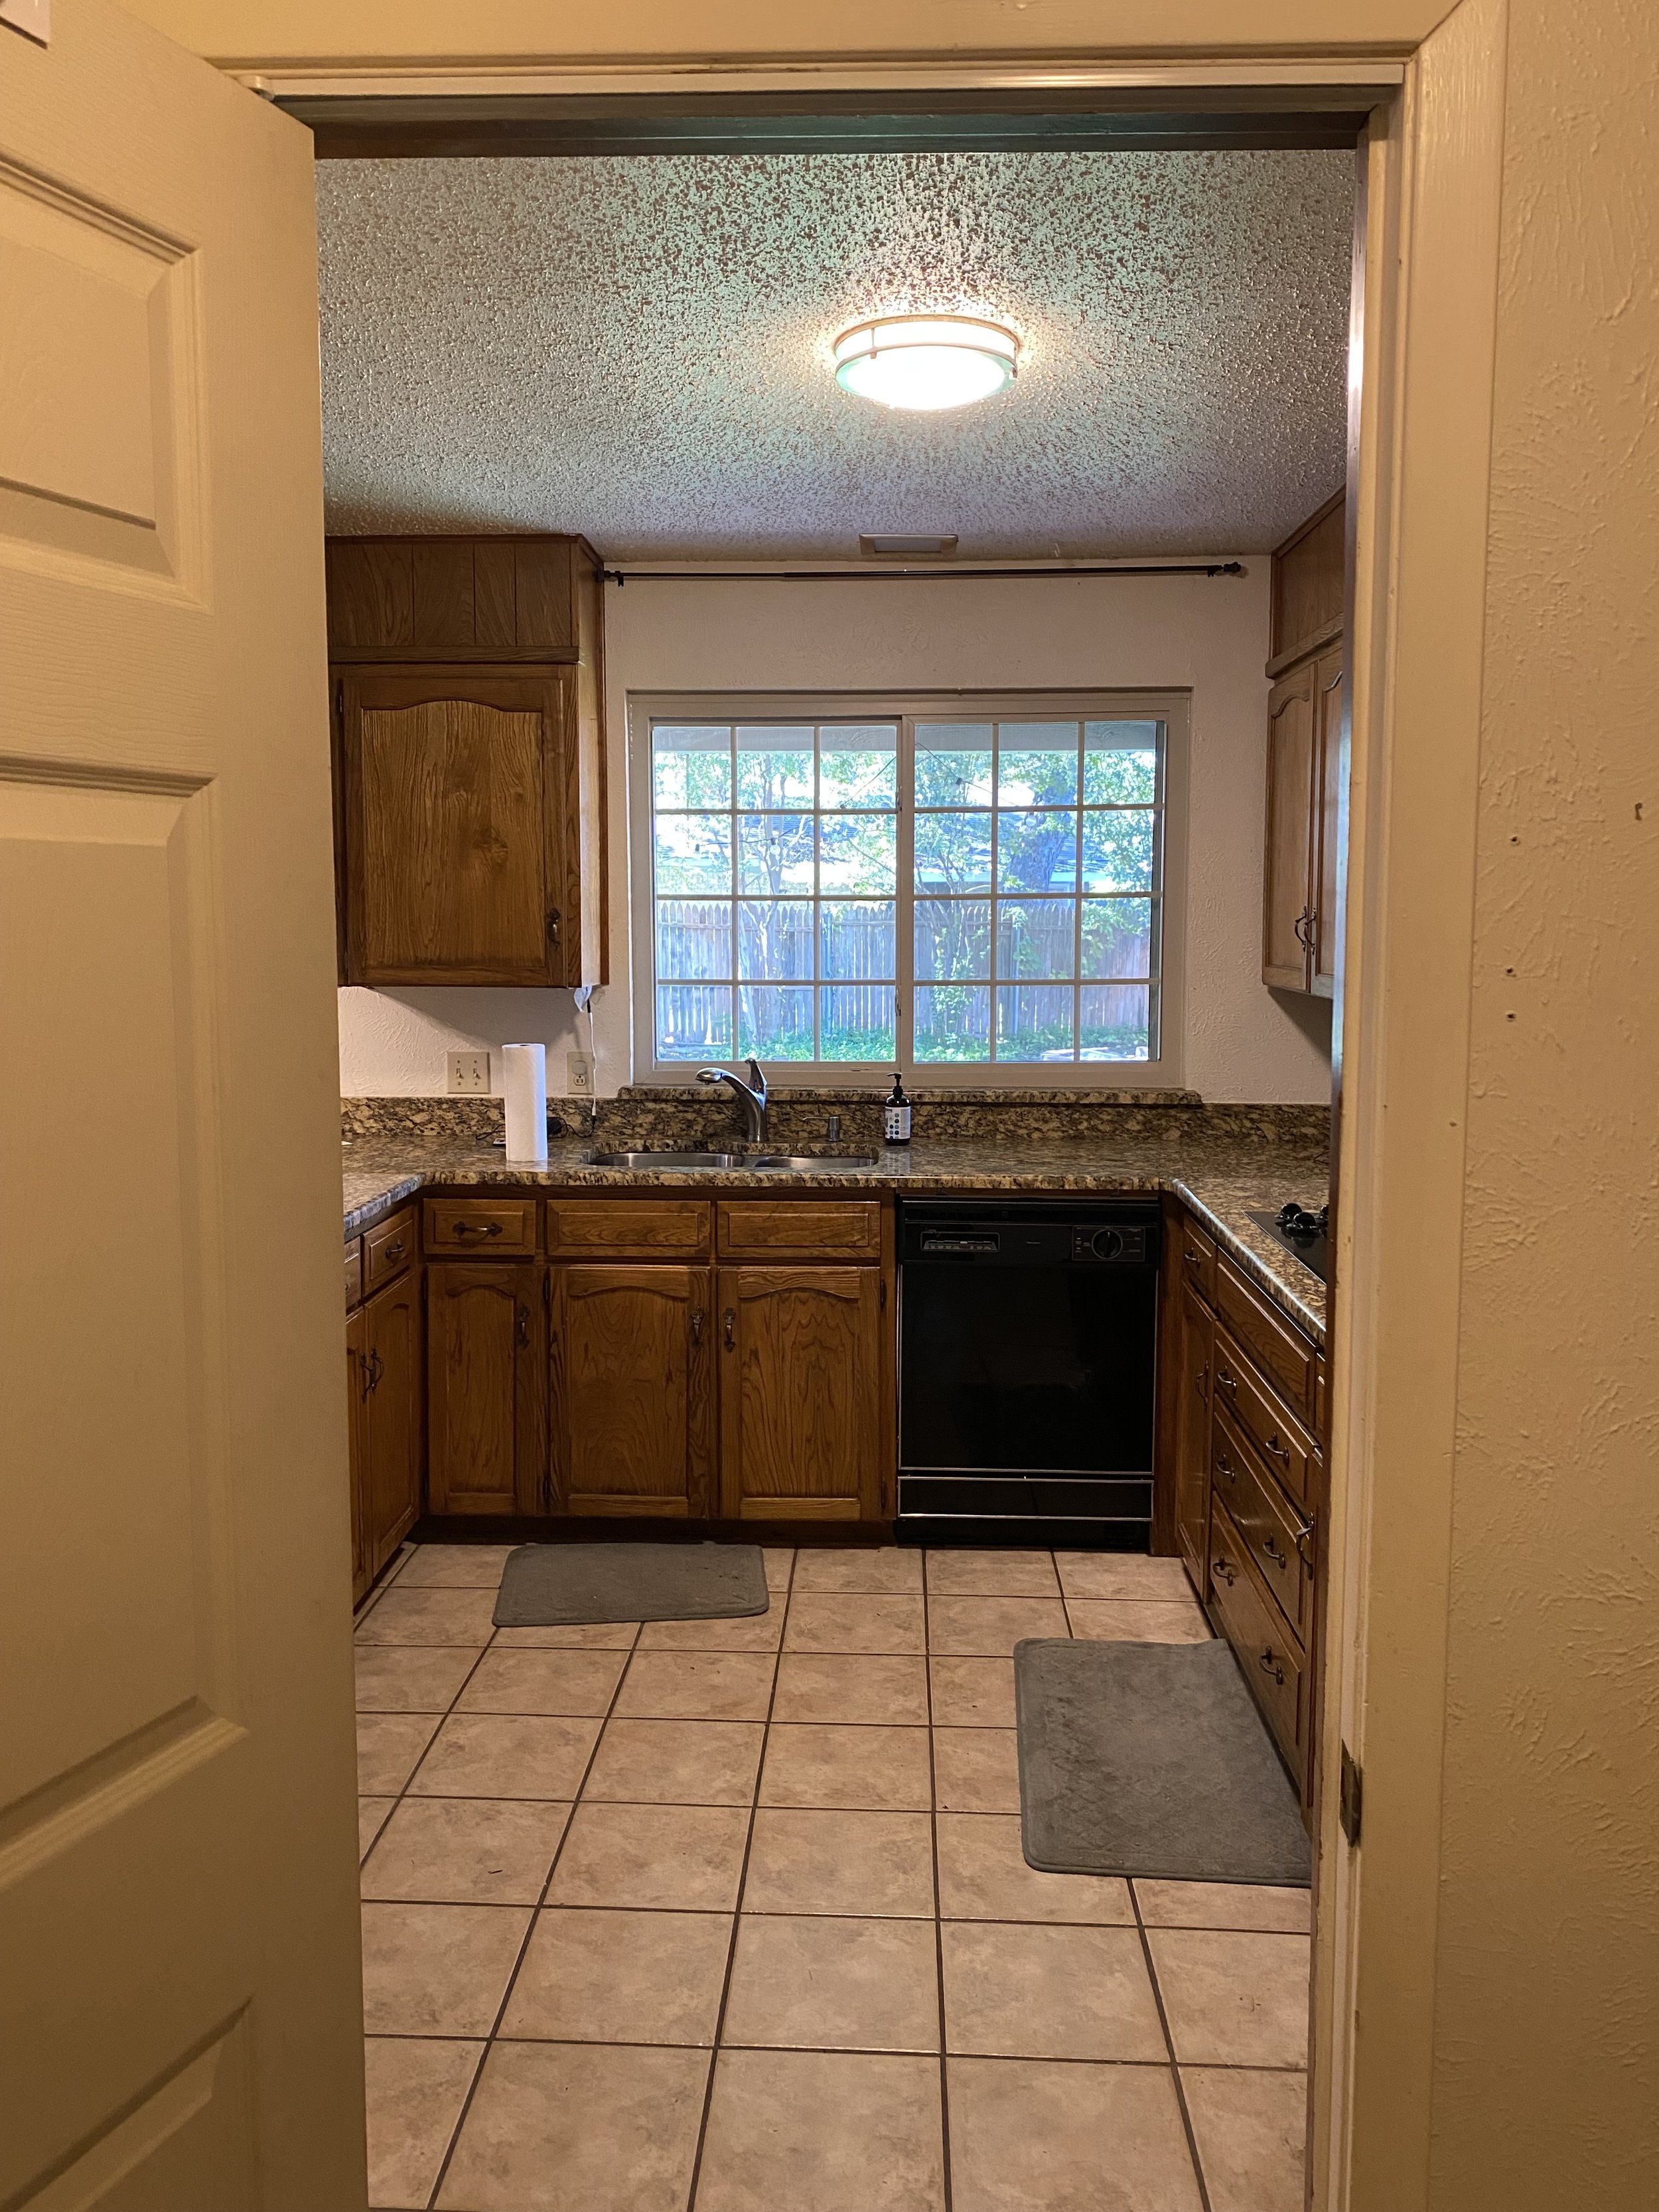
The existing kitchen plan was limited to a very small U-shape with upper cabinets that blocked the vantage point into the dining and living areas. We thought though several options to capitalize on the space we have, but we were rather limited with space to make any big adjustments. The big, beautiful windows in the dining room prevented us from being able to extend the kitchen much more than a few inches, and there was not enough space to add an island instead of the peninsula. We ultimately decided to remove the upper cabinets to open up the space but keep the existing U-shaped design. We increased cabinet storage and countertop space by making better use of the empty nook adjacent to the existing kitchen which was really what this kitchen needed.
Choosing Counter Tops
After deciding to add cabinetry to the empty nook adjacent to the kitchen, I really started to envision two tone countertops. I have always loved soapstone, but I have been hesitant to use for a whole kitchen. This was the perfect opportunity to have white quartz with the countertop backsplash in the main part of the kitchen, and soapstone for the adjacent coffee bar area.
We stayed in rental houses during part of our renovation because it was very messy removing popcorn ceiling and re-texturing the walls (and not to mention we had a 5-month-old), but one of our rentals had soapstone countertops. During that stay, we quickly learned some of the pros and cons of soapstone. Soapstone is a non-porous, natural stone, and is one of the most heat resistant, which we loved. The biggest downside that we learned after living with soapstone was that it showed water stains; I found myself always having to wipe down the counters. I was not overly concerned about this for the space we were planning to use the soapstone because it was not near a sink, but after going to the countertop distributor, I found it to be much more expensive as well.
I ended up finding a granite (gasp!) that is just a beautiful as soapstone. Granite is similarly a natural stone, but what I always pictured in my head as granite is well… not this. This granite has a beautiful matte finish, not-too-dark charcoal base, and beautiful grey and white streaking veins.
It is perfection (and a fraction of the cost!)
Countertop Choices:
White quartz: Santa Margarita Trevi, 3 cm
Black granite: Negresco Black, honed, 3 cm
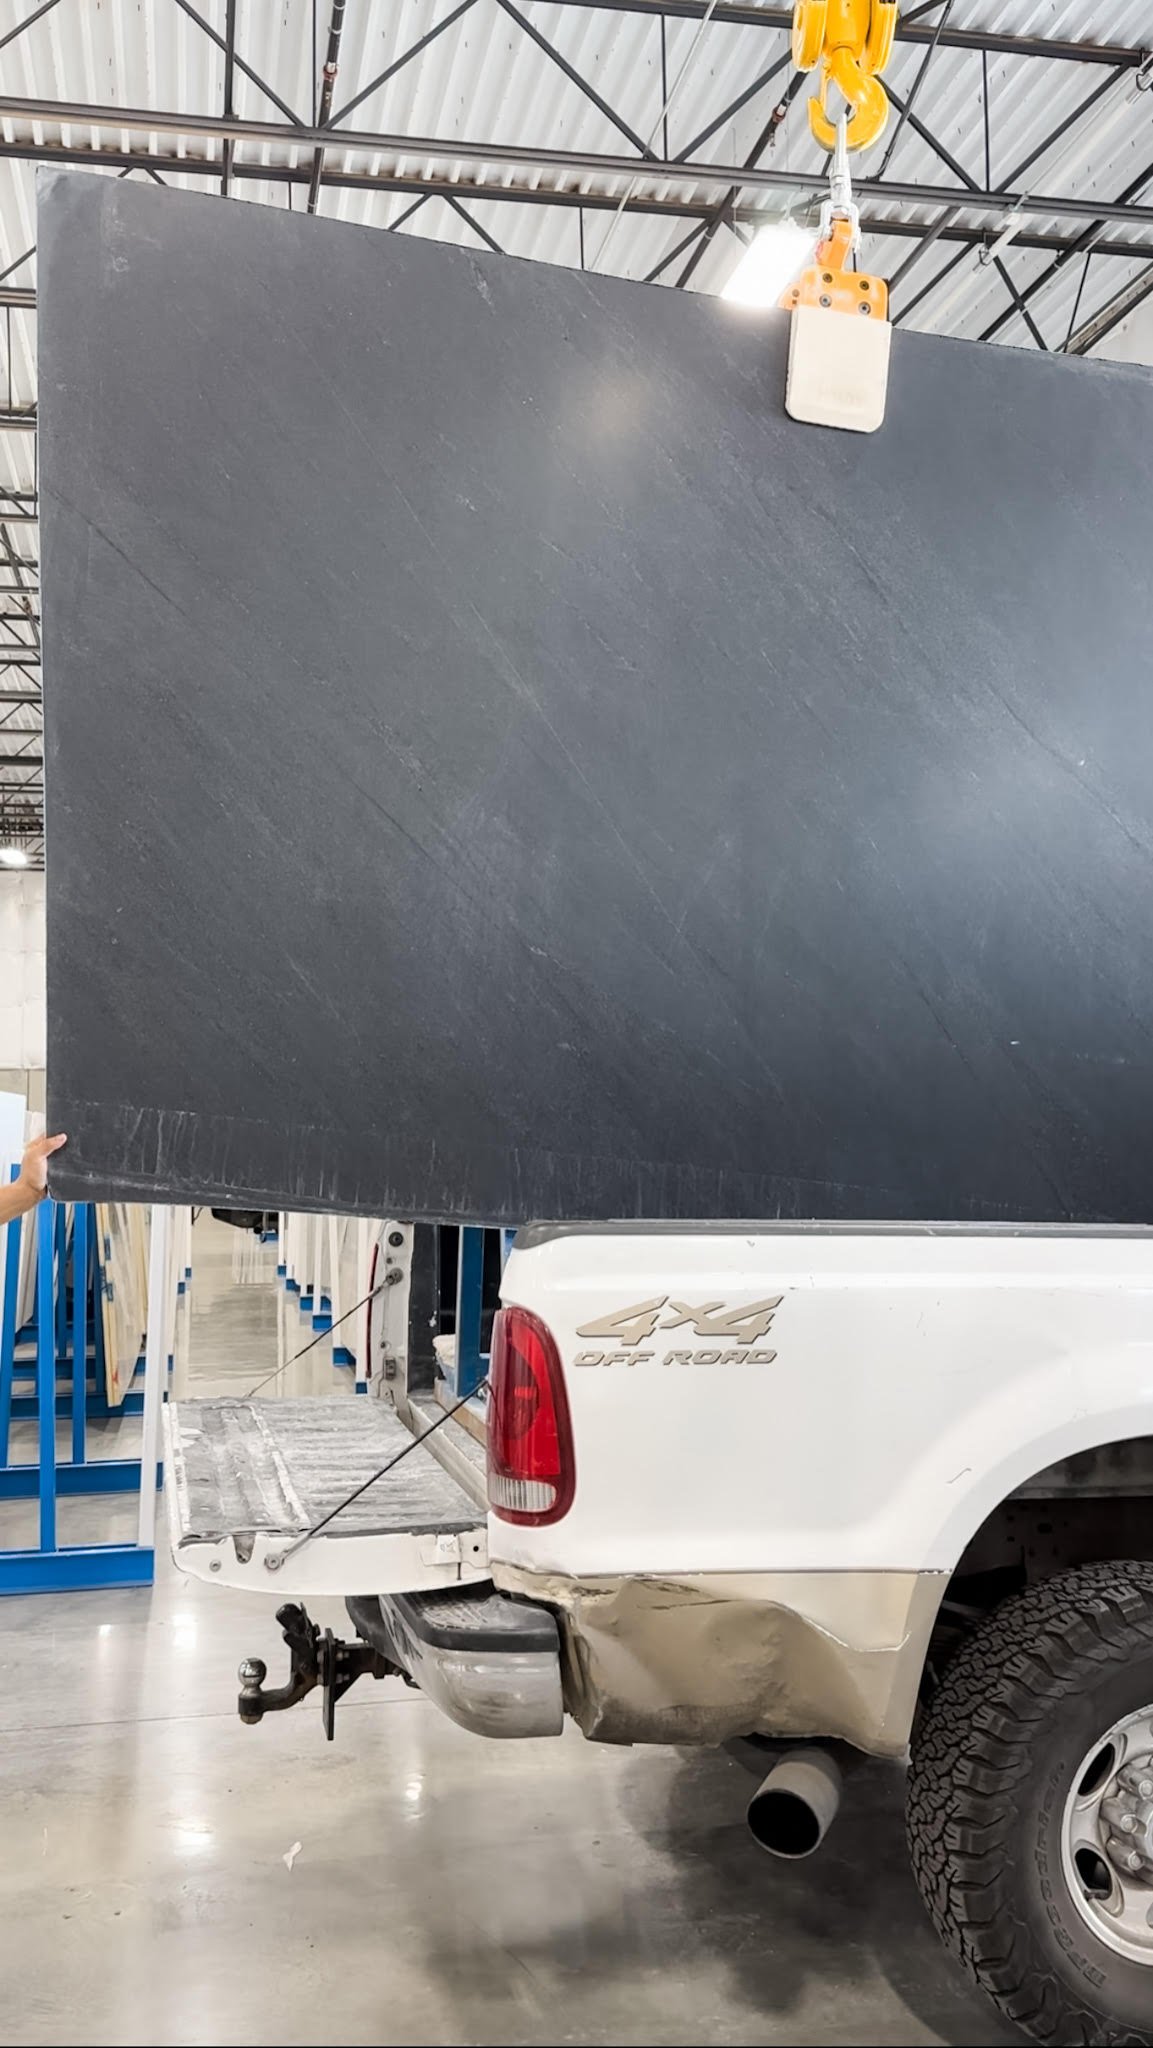
Countertop Process:
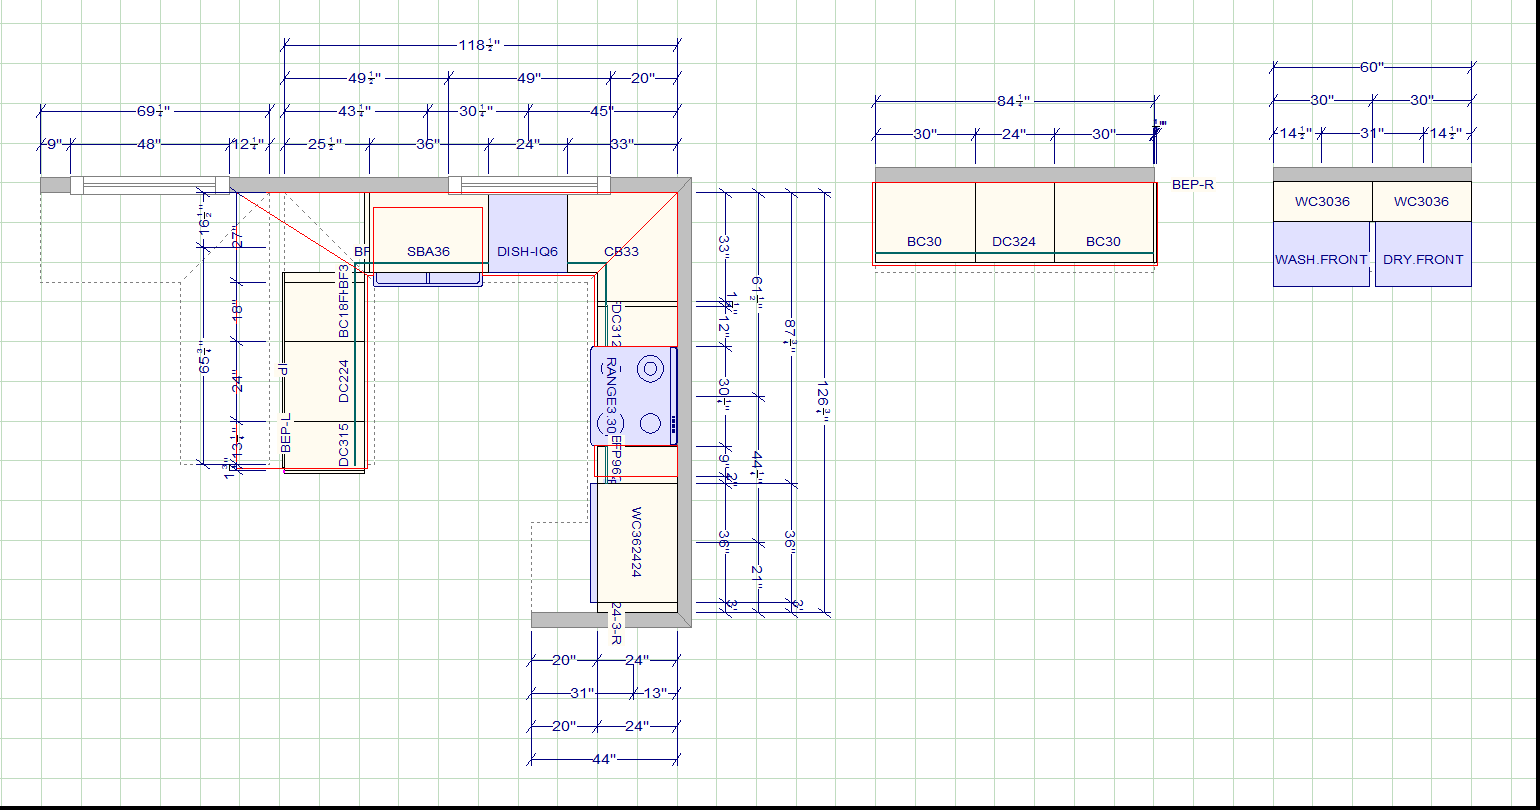
Once I picked out the slabs that I wanted, I contacted a fabricator to discuss next steps for fabrication and install. We went with Set in Stone Creations in the Dallas-Fort Worth area, and they were absolutely incredible. They were timely with coming out to measure the space and get a quote together. I will share our kitchen layout with dimensions for reference, but we needed two of the white quartz slabs and one of the black granite slabs for our project. And this mapping shows how important it is to use an experienced fabricator to not only measure for the countertop, backsplash, ledge, and window sill, but also best utilize the slabs and connect veining where possible.
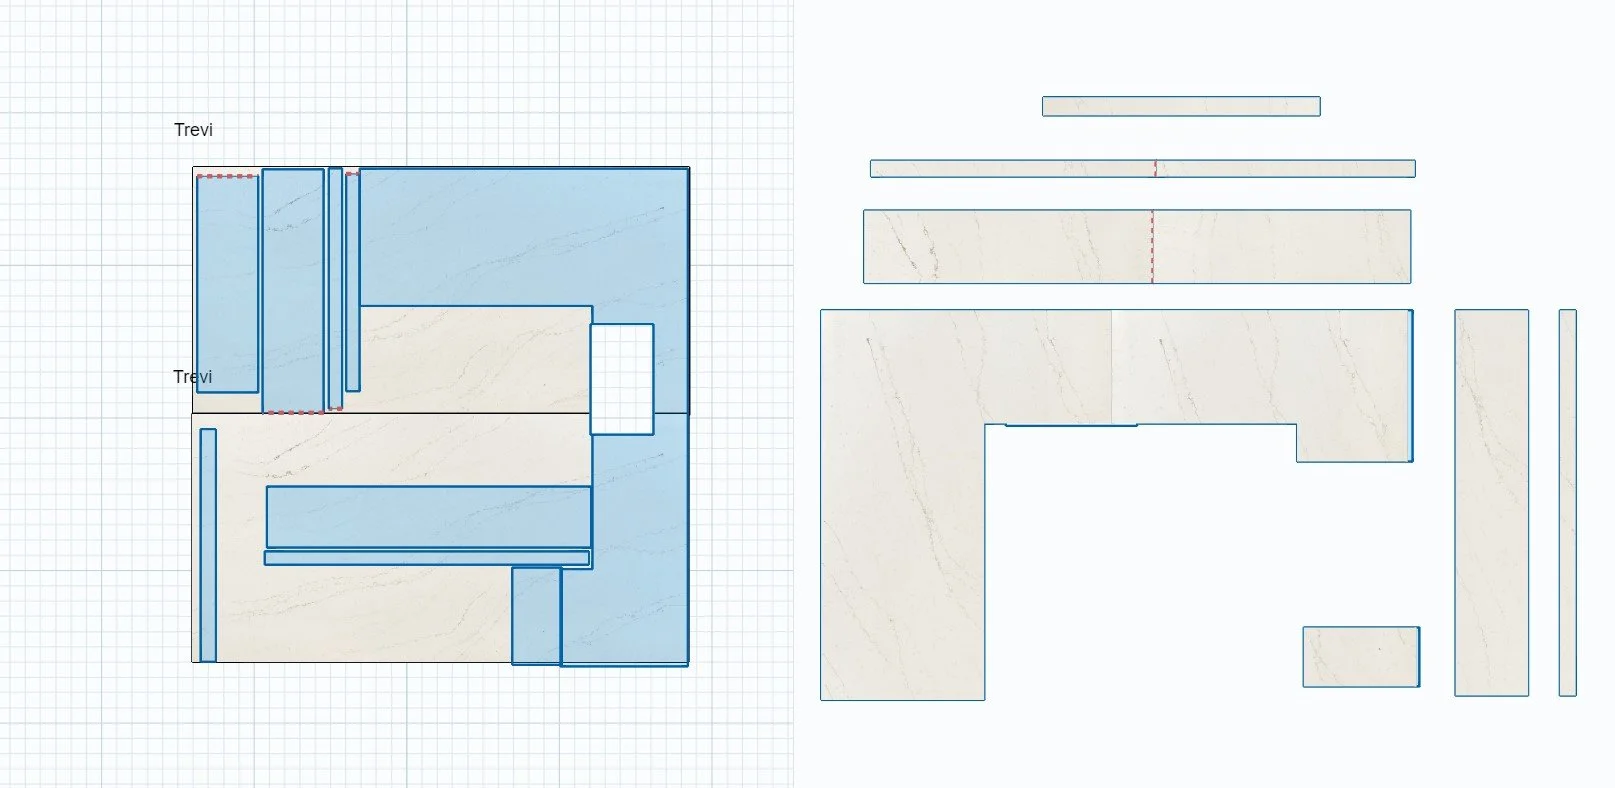
Quartz Slab Mapping
Attention to detail with where to cut to best utilize the slab but also connect veining if applicable.
When you purchase the whole slab, it is important to ask for the slab mapping so that you can potentially have additional stone fabricated for other areas of your home! We used the extra white quartz and black granite in several areas of our home that I will share later to give some inspiration for ways to use excess stone from a purchased slab.
Cost Breakdown:
We paid for the slabs and then fabrication/installation. We bought our slabs from Verona Marble, two slabs of the white quartz came to $4,250 and one slab of the black granite came to $1,395. Fabrication of the kitchen, dining room, laundry room, countertop backsplash with ledge, farmhouse sink cutout, outlet cut outs, and windowsill plus installation came to $5,520 by Set in Stone Creations.
Total cost: $11,165
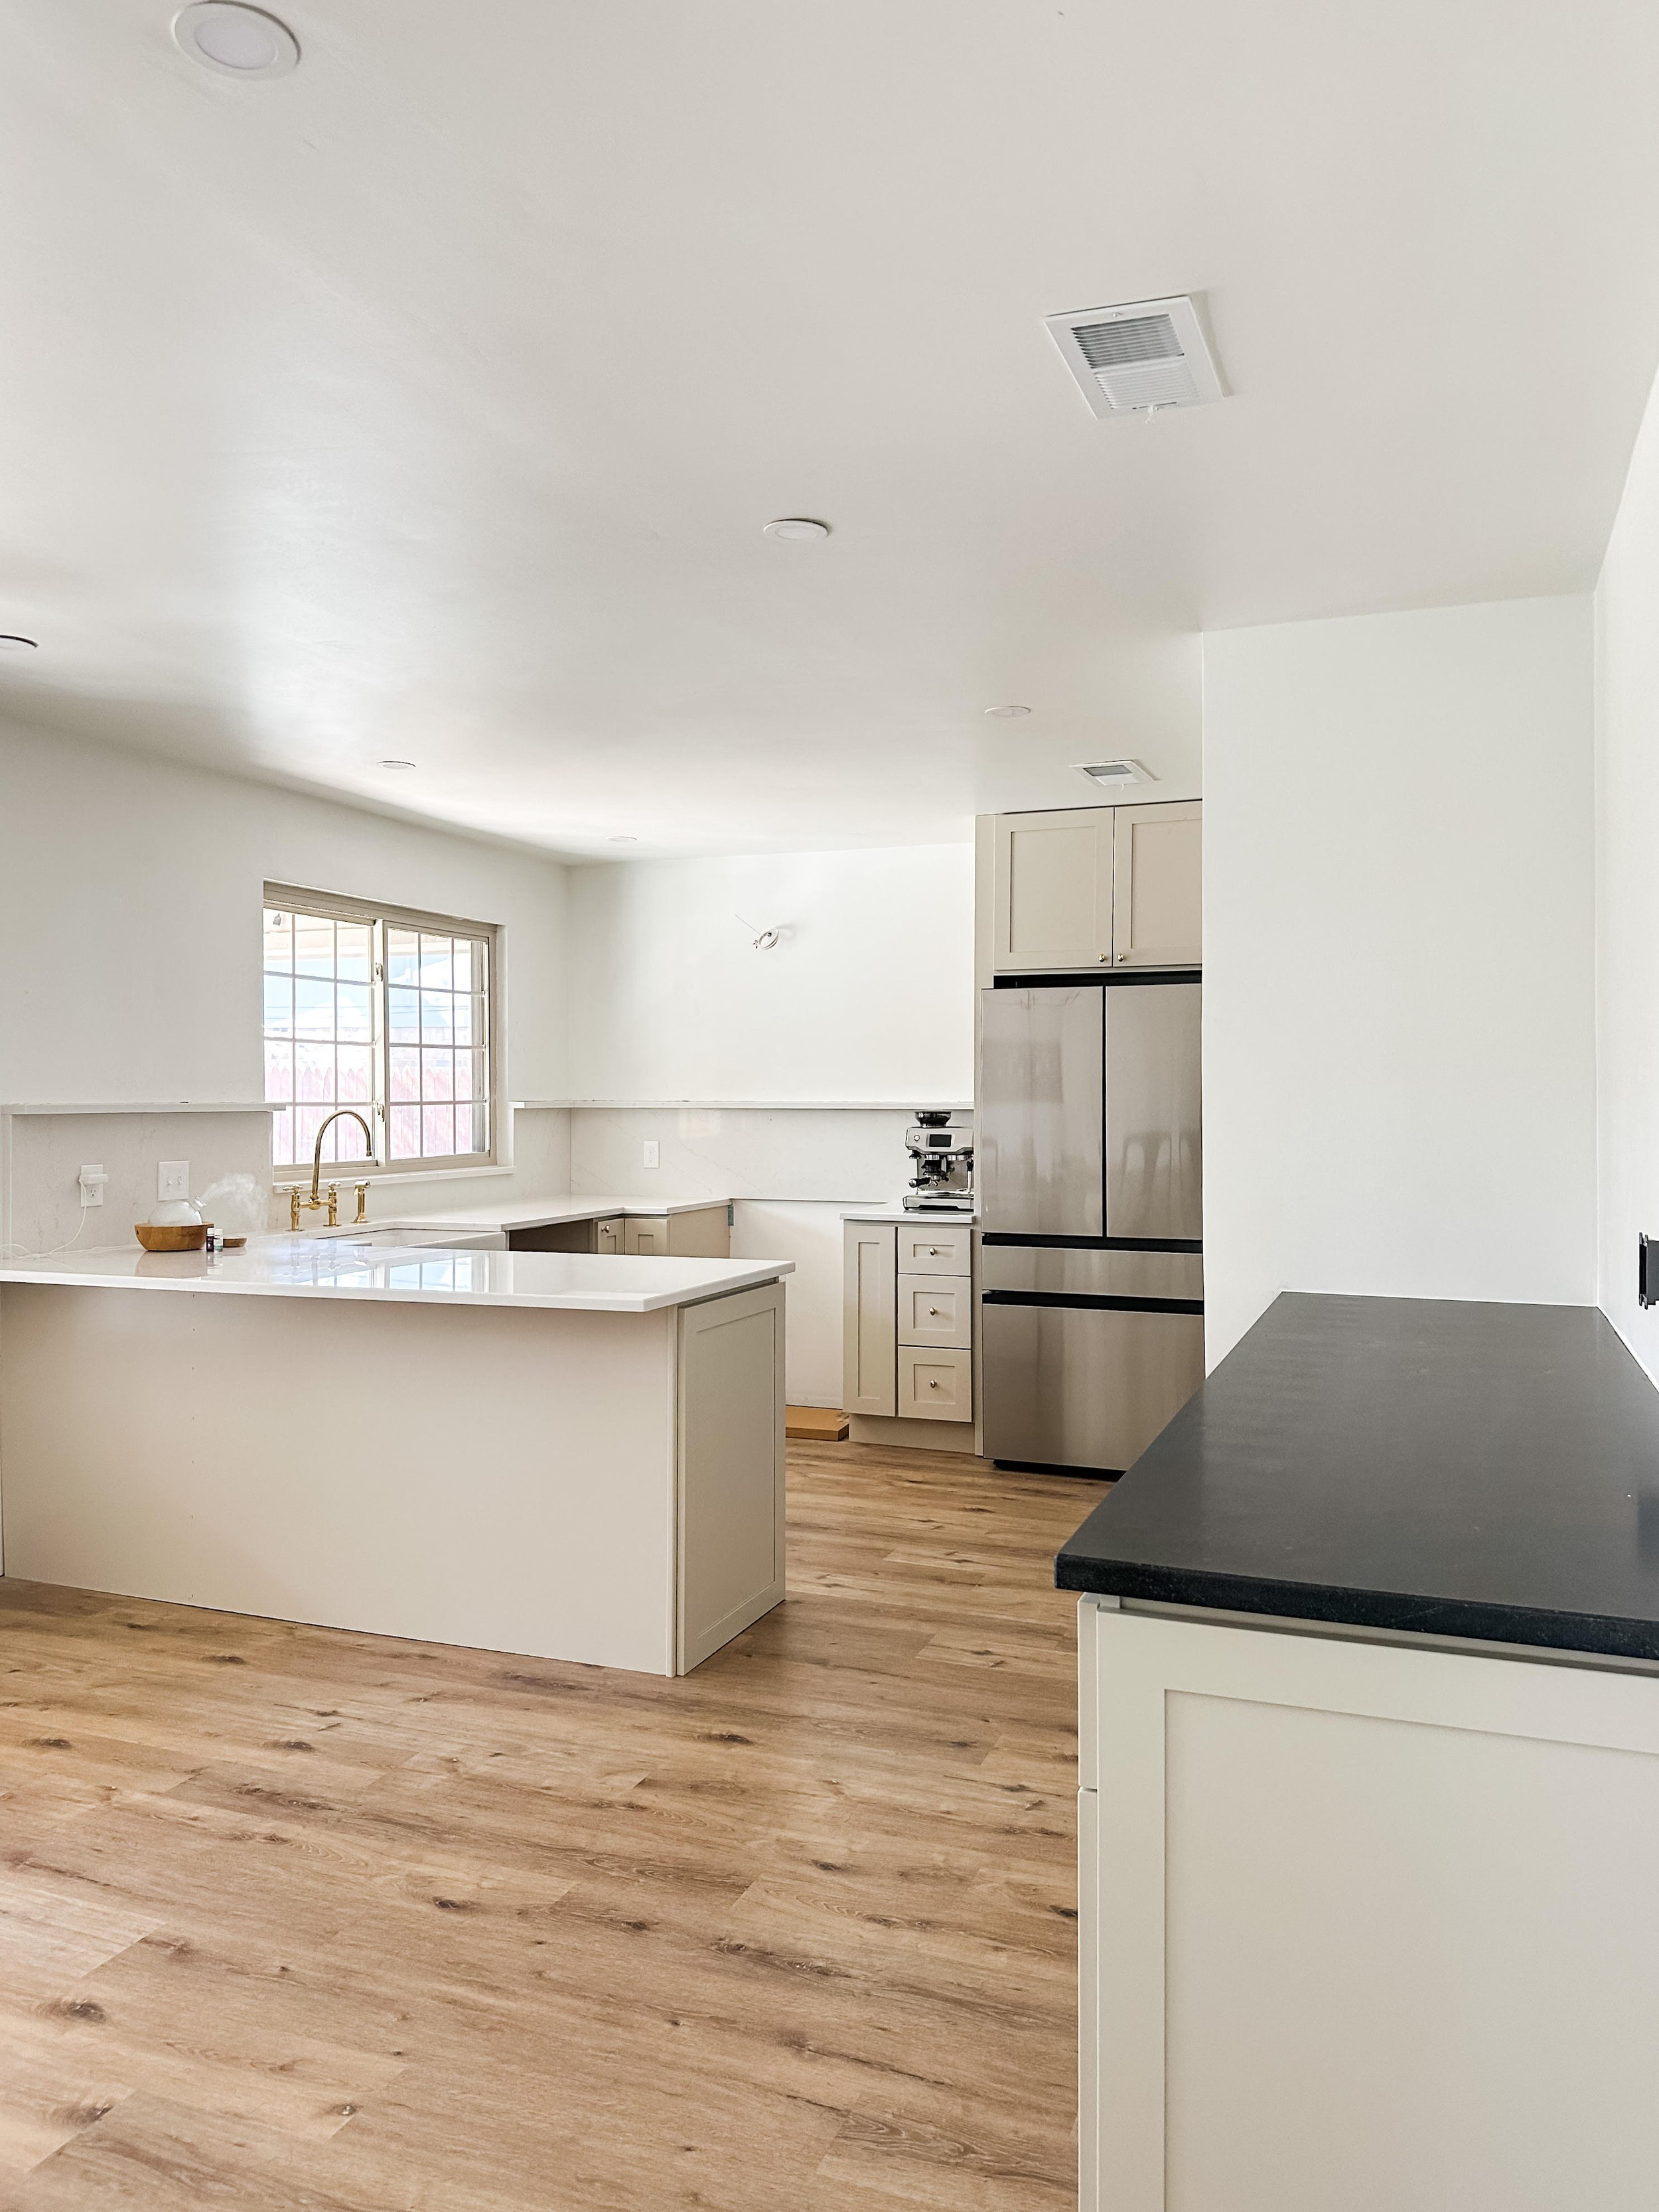
We are so thrilled with how it turned out. We were budget cautious when renovating this kitchen using stock cabinets that we installed ourselves, a DIY vent hood, LVP flooring, and budget friendly fixtures, but I am so happy that we did exactly what we wanted for the stonework because it has the ability to single-handedly make a kitchen look high end. Incorporating the two tone countertops with the more inexpensive granite was a great money saving option too.
